Indoor hot tub installation and what to plan for
Planning an indoor hot tub? Learn what to check for floor loading, ventilation, dehumidification, flooring, drainage, electrics, chemical smells and access.
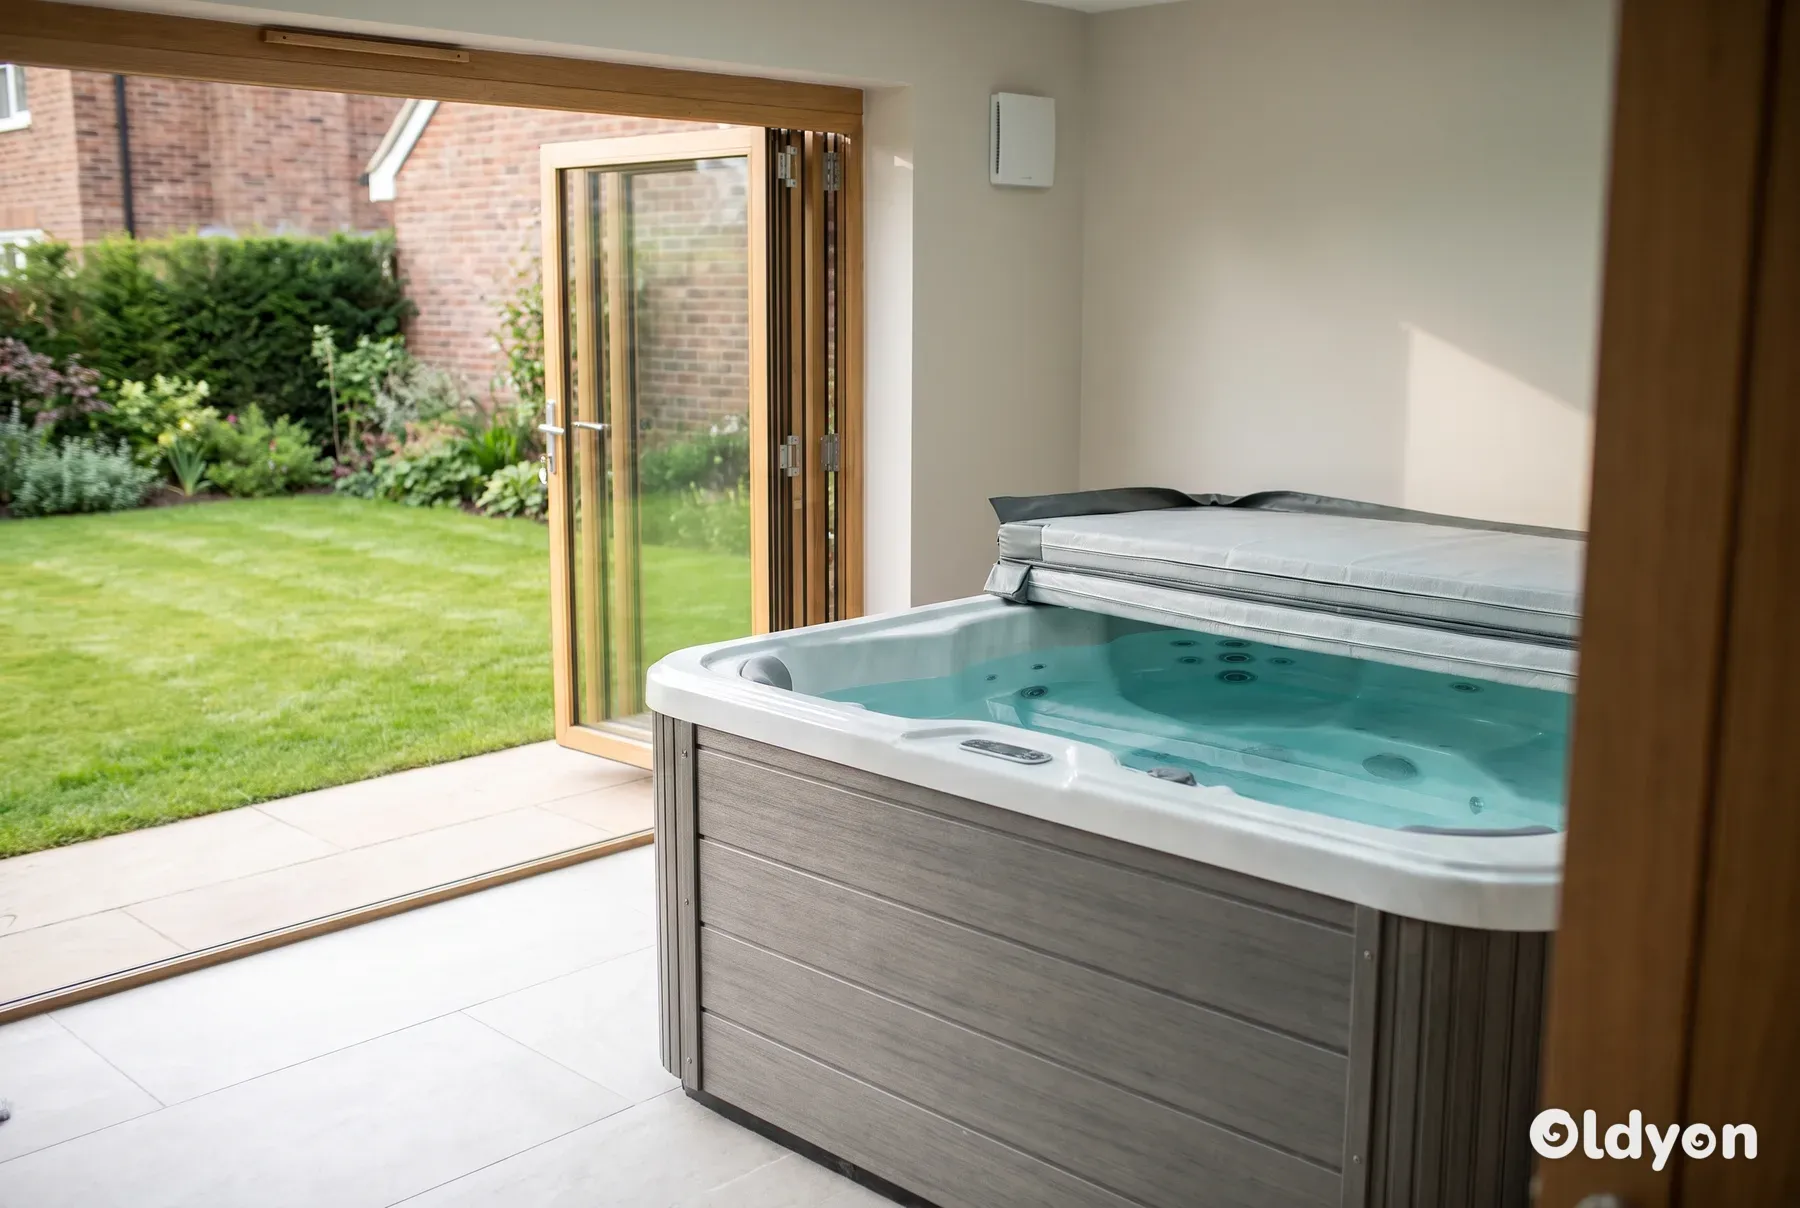
An indoor hot tub can work well, but the room has to be planned around it before the tub arrives. You need a floor that can carry well over a tonne, a dedicated electrical supply, ventilation and dehumidification to deal with steam, a waterproof floor with a way to drain, and a clear route to get the shell in.
Most indoor problems come from treating the tub like a piece of furniture. Water at 38-40°C (100-104°F) gives off moisture and chemical vapour all day, so the room matters as much as the tub. This guide walks through each part of the plan in the order you should think about it.
Is an indoor hot tub a good idea for your home?
Indoors, you can use the tub all year without wind, rain or cold air on your shoulders. The cover and cabinet last longer out of the weather, and you get more privacy. Heating costs can also be lower, because the tub is not losing heat to a cold night.
The trade-off is that the building now has to cope with the tub. Weight, humidity, spilt water and chemical vapour all become problems for the house rather than for the garden. Fixing these after installation is far harder and more expensive than designing for them at the start.
Common indoor locations are a ground floor extension, a garden room, a converted outbuilding, a garage or a cellar. Each has its own challenges, and we cover two of them in more detail in our guides to putting a hot tub in a basement or cellar and putting a hot tub in a garage.
An indoor tub is usually the wrong choice if the floor cannot be strengthened, if there is no practical way to vent moist air outside, or if you rent the property. In those cases a covered outdoor area, such as a sturdy pergola or a gazebo with side screens, often gives you most of the benefit with far fewer risks.
If the floor cannot take a rigid acrylic tub, an inflatable hot tub is a lighter alternative. It weighs far less empty and spreads its filled load over a larger footprint, so it may suit a floor that a rigid tub would overload. It still needs the same care with steam, drainage and electrics, and the floor should still be checked.
An inflatable tub typically weighs only around 35-70 kg (about 80-150 lb) empty, a small fraction of the 250-450 kg of a rigid acrylic tub. That is why it can suit a slab or floor that a rigid tub would overload. Once filled, the water and bathers still add several hundred kilograms, so the floor check still matters.
Check the ceiling height as well. If it is under about 2.1 m (about 6 ft 11 in), consider a lower-profile tub, because the cover must be able to open fully and you need comfortable headroom when stepping in and out.
Within the room, avoid putting the tub in these places:
- Directly under ductwork, where condensation can drip and the tub blocks access.
- Under or right beside an electrical panel or junction box.
- In an area with existing damp or mould.
- On part of a slab that is actively cracking or heaving.
- Against a load-bearing wall, unless a structural check confirms there is enough clearance and the wall will not be affected.
Before you commit, check that you can answer yes to each of these:
- The floor can carry the full weight of the tub, the water and the bathers.
- Moist air can be extracted to the outside, not just into another room.
- The floor can be made waterproof and slip resistant.
- There is a way to drain around 1,000-1,600 litres (about 265-420 US gallons) of water to a foul drain.
- A registered electrician can run a dedicated supply to the room.
- The tub can physically get through every door, corridor and turn on the way in, and out again one day.
Health benefits of an indoor hot tub
Regular soaks in warm water at about 36-40°C (97-104°F) may ease the symptoms of long-term pain conditions such as fibromyalgia and sciatica. Heat helps tight muscles relax, warmth improves circulation, and buoyancy takes some of the load off sore joints. Being indoors means you can keep a regular routine through the winter.
A soak treats symptoms rather than causes. It is not a cure, and it does not replace any treatment your GP or physiotherapist has recommended. Speak to your GP before you start using a hot tub for pain, especially if:
- Your pain is severe or getting worse.
- Your pain comes with numbness, tingling or weakness in your legs or arms.
- You have a heart condition, high or low blood pressure, or you are pregnant.
- You take medicine that makes you drowsy or affects your blood pressure.
Get out and stop if the pain increases, or if you feel dizzy, faint or sick. The NHS advises getting urgent medical help if sciatica affects both legs, or comes with numbness around your bottom or genitals or problems controlling your bladder or bowels.
How much does a filled hot tub weigh, and can your floor take it?
A typical four to six seat acrylic hot tub weighs roughly 250-450 kg (about 550-1,000 lb) empty. Filled, it holds around 1,000-1,600 litres of water, and each litre weighs 1 kg. Add the people sitting in it and the total is often 1,500-2,500 kg (about 3,300-5,500 lb). Your manual will give the filled weight for your model.
What matters for the floor is how that weight is spread. A 2,000 kg tub on a 2.2 m by 2.2 m (about 7 ft 3 in square) footprint puts roughly 410 kg on every square metre (about 85 lb per square foot). Some tubs also rest on a frame or feet, which concentrates the load further.
For comparison, ordinary domestic floors in the UK are typically designed for an imposed load of about 1.5 kN per square metre, which is roughly 150 kg per square metre (about 31 lb per square foot). That is why a filled hot tub on a normal upstairs or suspended timber floor is a serious structural question, not a matter of opinion.
Floor type | Usually suitable? | What to check |
|---|---|---|
Ground-bearing concrete slab | Usually yes | Thickness, cracks, level, damp |
Basement or cellar slab | Usually yes | Water ingress, level, drainage |
Beam and block ground floor | Engineer needed | Beam spans and load rating |
Suspended timber ground floor | Rarely as built | Joists, void below, rot |
Upper floor timber joists | Rarely as built | Full structural design |
Checking a concrete slab
Many manufacturers ask for a solid, level concrete base of at least 100 mm (4 in), and some ask for more. Older garage and outbuilding floors can be thinner, poorly compacted or laid straight onto soil. If you do not know how the slab was built, drilling a small test hole at the edge of the room will show its thickness.
Thickness is only part of the answer. Whether a slab can take the tub also depends on whether it is reinforced with steel mesh or bars, and on how well the ground beneath it was compacted. A thin, unreinforced slab may need strengthening before the tub goes in.
Look for cracks, hollow-sounding areas and signs of damp. The slab should be level to within a few millimetres across the tub footprint, because an uneven base twists the shell and cabinet over time. If you have any doubt, ask a structural engineer before the tub is ordered.
While you inspect the slab, check whether it already has a floor drain, and note where it sits relative to the planned tub position. An existing drain makes draining much simpler and is strongly preferable to pumping water out of the room, so position the tub so its drain hose can reach it easily.
Some signs rule a slab out until it has been repaired:
- Cracks wider than about 6 mm (about 1/4 in).
- White, powdery efflorescence deposits, which show water is getting into the concrete.
- Any visible heaving, lifting or a step between sections of the floor.
Ask a structural engineer to assess the slab rather than relying on a general builder's estimate. As a very rough guide, expect an assessment to cost around £250-£500, which is far less than repairing a failed floor or a cracked shell.
A load-spreading pad or base under the tub helps distribute the weight more evenly across the slab. Check your manual for the type of base the manufacturer accepts, as some specify their own.
Never put a hot tub on a suspended timber floor or an upper storey without a structural engineer's design. The weight is many times what the floor was built for, and failure can be sudden. Strengthening work also usually needs building regulations approval.
How do you control humidity and ventilation indoors?
Why steam is the biggest indoor risk
Warm water evaporates constantly, and far more quickly when the cover is off and the jets are running. Indoors, that moisture has nowhere to go. It condenses on the coldest surfaces in the room: windows, outside walls, ceilings, metal fixings and anything inside the roof space.
A hot tub in use can give off roughly 4 litres (about 1 US gallon) of water vapour every hour, depending on water temperature, room temperature and how much the jets churn the surface. A closed room saturates quickly at that rate, so the extraction and dehumidification must be sized for it.
Over months, condensation leads to black mould, peeling paint, swollen timber, rusting screws and damp plasterboard. In a loft or ceiling void you may not see the damage until it is serious. Ventilation and dehumidification are not optional extras for an indoor tub.
When relative humidity stays above about 60%, mould can start growing on damp surfaces within 24-48 hours. The wider damage includes:
- Rot in the joists and subfloor above a cellar or ground floor room.
- White mineral efflorescence and gradual deterioration on concrete and masonry walls.
- Corrosion of the tub's control panel and electrics.
- Corrosion of any heating, ventilation or dehumidifying equipment in the room.
Measure the room first
Before installing anything, measure the room's baseline humidity with an inexpensive hygrometer over a few days. If it already reads above about 50% without a tub, the room has an existing damp problem. Fix that first, because adding a tub will only make it worse.
If the baseline reading is above about 60%, or your home's existing heating and ventilation system cannot reach the room, speak to a ventilation or HVAC (heating, ventilation and air conditioning) contractor before you buy any ventilation equipment. Fans and dehumidifiers bought before the room is assessed are often the wrong size.
A generally healthy indoor humidity range is 30-50%. Aim for the lower end of that when the tub is idle and covered, and treat about 50-60% as a ceiling during and just after use, not as the everyday target.
Extraction and fresh air
The room needs a mechanical extract fan that sends moist air outside, ideally controlled by a humidistat so it runs whenever the air gets damp. An opening window helps in summer, but it is not enough on cold winter evenings when you will want it closed.
Air you extract has to be replaced, so plan a source of fresh air, such as a wall vent or a door undercut from a dry room. Ventilation is covered by building regulations in the UK, so a builder or ventilation specialist should size the fan for the room rather than guessing.
As a rough starting point, some installers size the extract fan for one full change of air every 4 minutes, which means moving the whole room volume 15 times an hour. A basement of about 206 m³ (about 7,280 cubic feet) would need a fan moving about 3,100 m³ per hour (about 1,820 CFM). That is far more than a bathroom fan can manage, so ask a specialist to confirm the size for your room.
For a permanent tub room used every day, the most consistent control comes from extending the home's ducted heating or ventilation system into the room, with its own supply and extract runs, combined with a whole-house or ducted dehumidifier. A heating and ventilation engineer can tell you whether your system can be extended.
Dehumidifiers
In most indoor rooms a dehumidifier is needed as well as extraction. Choose one sized for the room volume and for a warm water surface, not a small portable unit made for drying laundry. Many installers aim to keep the room at around 50-60% relative humidity at most, and lower when the tub is not in use.
Treat an extract fan paired with a dehumidifier as the practical minimum for any indoor tub used more than about twice a week. An extract fan on its own is only adequate for occasional use or for an inflatable tub.
Capacity matters more than people expect. For a large space, such as a whole basement of roughly 85 m² (about 915 sq ft), you would be looking at a high-capacity unit removing around 35-45 litres of water per day. A typical domestic unit rated at about 14 litres per day is not enough for that size of room.
A dehumidifier with a permanent drain connection saves you emptying a tank every day. Wall-mounted or ducted units keep the floor clear and are less likely to be splashed. Fit a simple humidity monitor so you can see whether the system is keeping up.
Budgeting for ventilation
These rough ranges vary with the size of the room, the length of any duct runs and local labour rates, so get quotes for your own project:
- An installed extract fan: roughly £160-£400.
- An extract fan plus a commercial-grade dehumidifier: roughly £550-£1,350.
- Extending the home's ducted system into the room, plus a dehumidifier: roughly £2,000-£5,000.
Walls, ceiling and insulation
Cold surfaces attract condensation, so insulate outside walls and the ceiling well. Behind the wall and ceiling boards, a vapour control layer on the warm side stops moist air reaching the timber and insulation. Use moisture-resistant boards and a mould-resistant paint or a tiled finish.
Use cement board, not plasterboard, behind tiled areas and in splash zones. Avoid plain plasterboard, wood panelling, carpet or any other porous material within about 2 m (about 6 ft 6 in) of the tub, because it soaks up splashes and steam.
On painted walls and ceilings, choose a semi-gloss or gloss mildew-resistant paint. It wipes down more easily than a matt finish, so condensation and any early mould can be cleaned off before they take hold.
Good daily habits matter just as much as the equipment:
- Keep the cover on whenever the tub is not in use. It is your best defence against evaporation.
- Run the extract fan during and for a while after each session.
- Check the cover seal and replace a waterlogged or split cover promptly.
- Wipe down windows and cold surfaces if you see condensation forming.
- Watch for musty smells or dark spots in corners and on the ceiling.
What flooring works around an indoor hot tub?
Treat the room like a wet room. Water will be splashed out, dripped from people climbing in and out, and occasionally spilt in larger amounts during draining or a leak. The floor finish must stop that water from reaching the structure underneath.
The usual approach is a waterproof tanking membrane over the screed, turned up the walls by at least a short distance to form an upstand, with tiles or a sealed resin finish on top. Seal every joint where the floor meets the wall and around any pipes or drains that pass through.
On a tiled floor, seal the grout as well as laying a waterproof underlay or membrane beneath the tiles. Unsealed grout lets water soak through the joints, and the membrane underneath is what stops it reaching the screed and the structure.
Wet feet on smooth tiles are a real slip hazard. Choose a floor finish rated for slip resistance in wet barefoot areas, and ask your supplier to confirm the rating. Avoid carpet, laminate, untreated timber and anything that absorbs water or swells.
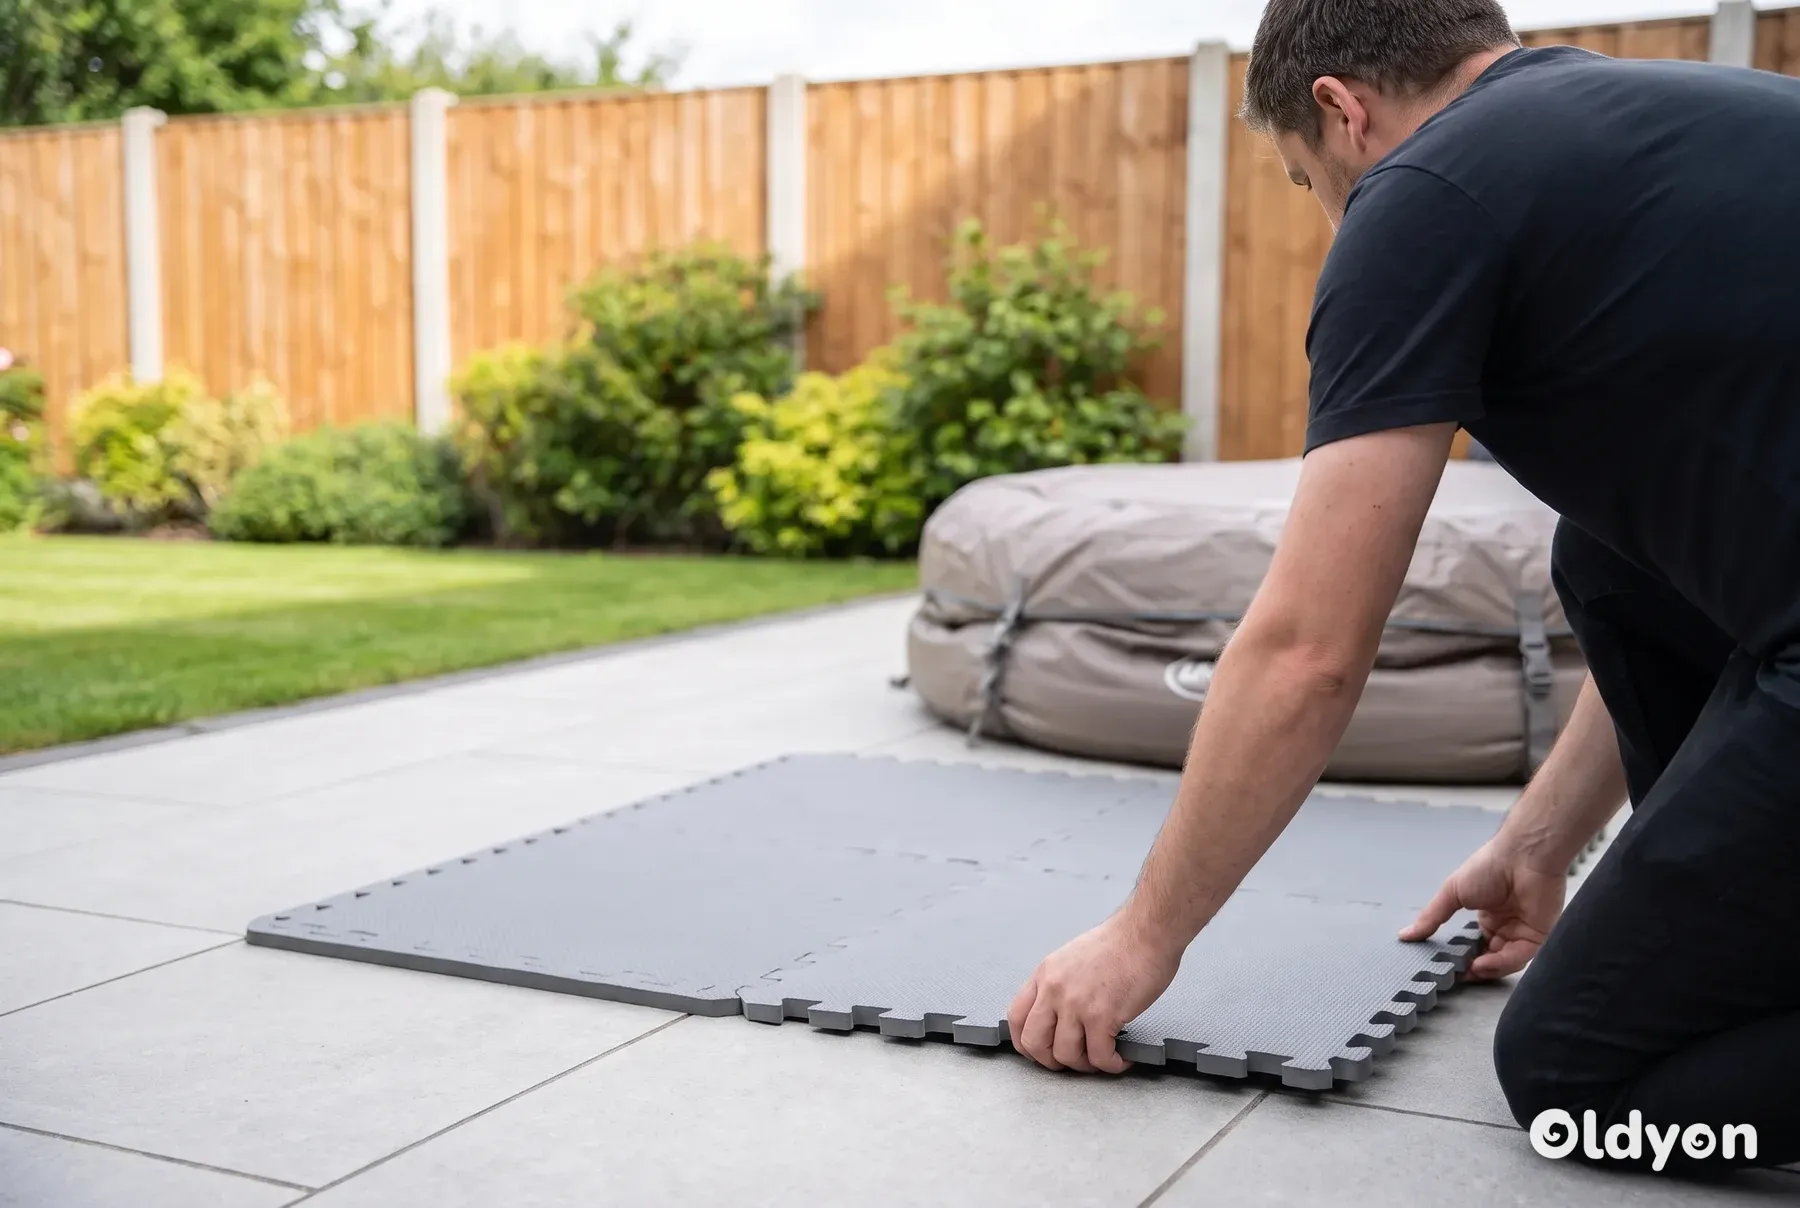
Luxury vinyl planks with a waterproof core are a good wet-area option, especially under an inflatable tub. Laminate is not, because it swells when water gets into the joints, and ordinary vinyl can lift if water is left standing on it.
In an unfinished room, sealed concrete is a workable finish. Apply a penetrating epoxy or polyurethane sealer rated for wet areas, and choose a textured finish or add an anti-slip additive so the floor has grip when wet.
Ideally the floor falls gently towards a floor gully so spilt water runs away rather than pooling. The area directly under the tub must still be flat and level, so plan the falls around the tub footprint. Check your manual to see whether the tub can sit straight on a tiled slab or needs its own base.
Pumps can hum through a solid floor into the rest of the house. Anti-vibration matting under the base can reduce the noise that travels through the structure, as long as the manufacturer is happy for the tub to sit on it.
How will you drain and refill it indoors?
Most manufacturers recommend changing the water every three to four months, though it varies with how often the tub is used. That means moving well over a tonne of water out of a room inside your house several times a year, so drainage needs a proper plan.
With a floor gully
A gully in the floor of the tub room, connected to the foul drainage system, makes draining simple. You run the tub's drain hose to the gully and let it empty. A plumber or builder can advise whether a gully can be connected where you want the tub.
If your slab inspection found an existing floor drain, use it. Placing the tub close to that drain, with the tub's drain port on the side nearest to it, gives you the shortest and simplest hose run every time you empty the tub.
Without a floor drain
If there is no gully, use a submersible pump and a hose run to a foul drain, such as an outside gully that takes kitchen or bathroom waste. Do not empty spa water into a surface water drain, because those often lead straight to streams and rivers. If you are not sure which drain is which, ask your water company.
A submersible pump and a suitable hose are the lowest-cost way to drain a tub with no floor drain, at roughly £30-£100 in total. That is far cheaper than having a plumbed drain line installed, although you have to set up and watch the pump each time you drain.
A utility sink or a washing machine waste connection is often the nearest foul drain indoors. A pump can usually reach one if the hose run is within about 8-15 m (about 25-50 ft), though this depends on the pump and the height it has to lift the water.
If your tub has a low drain port and the hose can run downhill all the way, it may drain by gravity to a suitable foul drain with no pump at all. Ask the manufacturer whether your model has a drain port low enough for this.
- Switch the tub off at the isolator before you start.
- Let the sanitiser level drop for a day or two with the cover off and the room ventilated, or follow your manual's advice.
- Lay the hose along the shortest route to the foul drain, with nothing that could kink or trip people.
- Place the submersible pump in the footwell and start it, watching the first few minutes for leaks.
- Stay nearby while it drains, and stop the pump before it runs dry.
- Mop out the last few centimetres and wipe the shell before cleaning and refilling.
A permanent drain line
For a permanent installation, a plumber can run a dedicated drain line from the tub's drain port to the foul waste stack. This removes the manual pumping step entirely. As a very rough guide, expect around £400-£1,600, depending on the distance and how hard the route is to reach.
If you are considering a dedicated drain line, or there is existing plumbing within the area where the tub will go, involve a plumber early in the planning. Pipes are far easier to move or connect before the floor is tanked and tiled than after.
To refill, use a hose from a tap fitted with backflow protection, such as a double check valve, which water regulations expect. Put the hose through the filter housing if your manual recommends it, to avoid air locks. Then balance the water before you heat it fully.
A cheap battery water-leak alarm on the floor beside the tub is worth having. It warns you about a slow leak from a fitting or a pump seal long before the water reaches the rooms below or the walls around.
How do you stop chemical smells building up?
A strong swimming pool smell is usually not a sign of too much chlorine. It normally comes from chloramines, which form when chlorine combines with sweat, skin oils and other waste. Indoors, these build up in the air and can irritate eyes and breathing.
The fix is good water care, not more air freshener. Keep the water within these widely accepted ranges, and test it two or three times a week:
- Free chlorine 3-5 ppm, or bromine 3-5 ppm if you use bromine.
- pH 7.2-7.6.
- Total alkalinity 80-120 ppm.
- Calcium hardness 150-250 ppm.
- Water temperature no hotter than 40°C.
Shock the water regularly, especially after heavy use, to break down the waste that causes chloramines. Run the extract fan when you shock and leave the cover open for the time the product label states. Showering before you get in also reduces the load on the sanitiser.
A non-chlorine shock treatment is an alternative to chlorine shock for the regular monthly shock. It breaks down waste without adding more chlorine to the water. Check the label and your manual to confirm it suits your sanitiser and your tub.
Some indoor owners prefer bromine because it stays more stable in hot water and many people find the smell milder. Both chlorine and bromine work well when kept in range. Ozone or UV systems can reduce the sanitiser demand, but they do not replace it.
Warm water and spray from jets can spread bacteria such as Legionella if the water is not properly treated. Indoors you breathe that air more closely, so keep the sanitiser in range and clean the filters regularly. The Health and Safety Executive explains the risk on its Legionnaires' disease pages.
A routine that keeps the water and the room fresh
Indoors, looking after the room is part of looking after the tub. Your manual may set different intervals, so follow it where it differs from this general routine.
Every week:
- Rinse the filter cartridge with a hose.
- Wipe the waterline and shell with a non-abrasive spa cleaner.
- Empty the dehumidifier reservoir, or check its drain line is clear.
- Check the humidity reading on your monitor.
- Look for new drips or damp around the tub and on the floor.
Every month:
- Soak the filter overnight in filter cleaner, then rinse it well.
- Shock the water, using either a chlorine shock or a non-chlorine shock treatment.
- Inspect the plumbing through the access panels for drips or damp.
- Tighten loose cover latches or cabinet fasteners.
- Press the RCD test button, or test it as often as your manual says.
- Clean the extract fan and its grille so the airflow stays strong.
Every three to four months:
- Drain the tub and clean the inside of the shell with a spa surface cleaner.
- Refill and rebalance the water.
- Lubricate the cover lifter hinges and clips.
- Check the surrounding walls and floor for new cracks or moisture.
Storing chemicals indoors
Keep chemicals in a cool, dry, ventilated place, in their original sealed containers, off the floor and out of reach of children. The humid tub room itself is not ideal, because moisture makes powders clump and fumes can corrode metal and electrics.
Store chlorine products away from acids such as pH reducer, and never mix chemicals together or add water to a chemical. Always add the chemical to the water, one product at a time, and follow the label.
What electrical work does an indoor hot tub need?
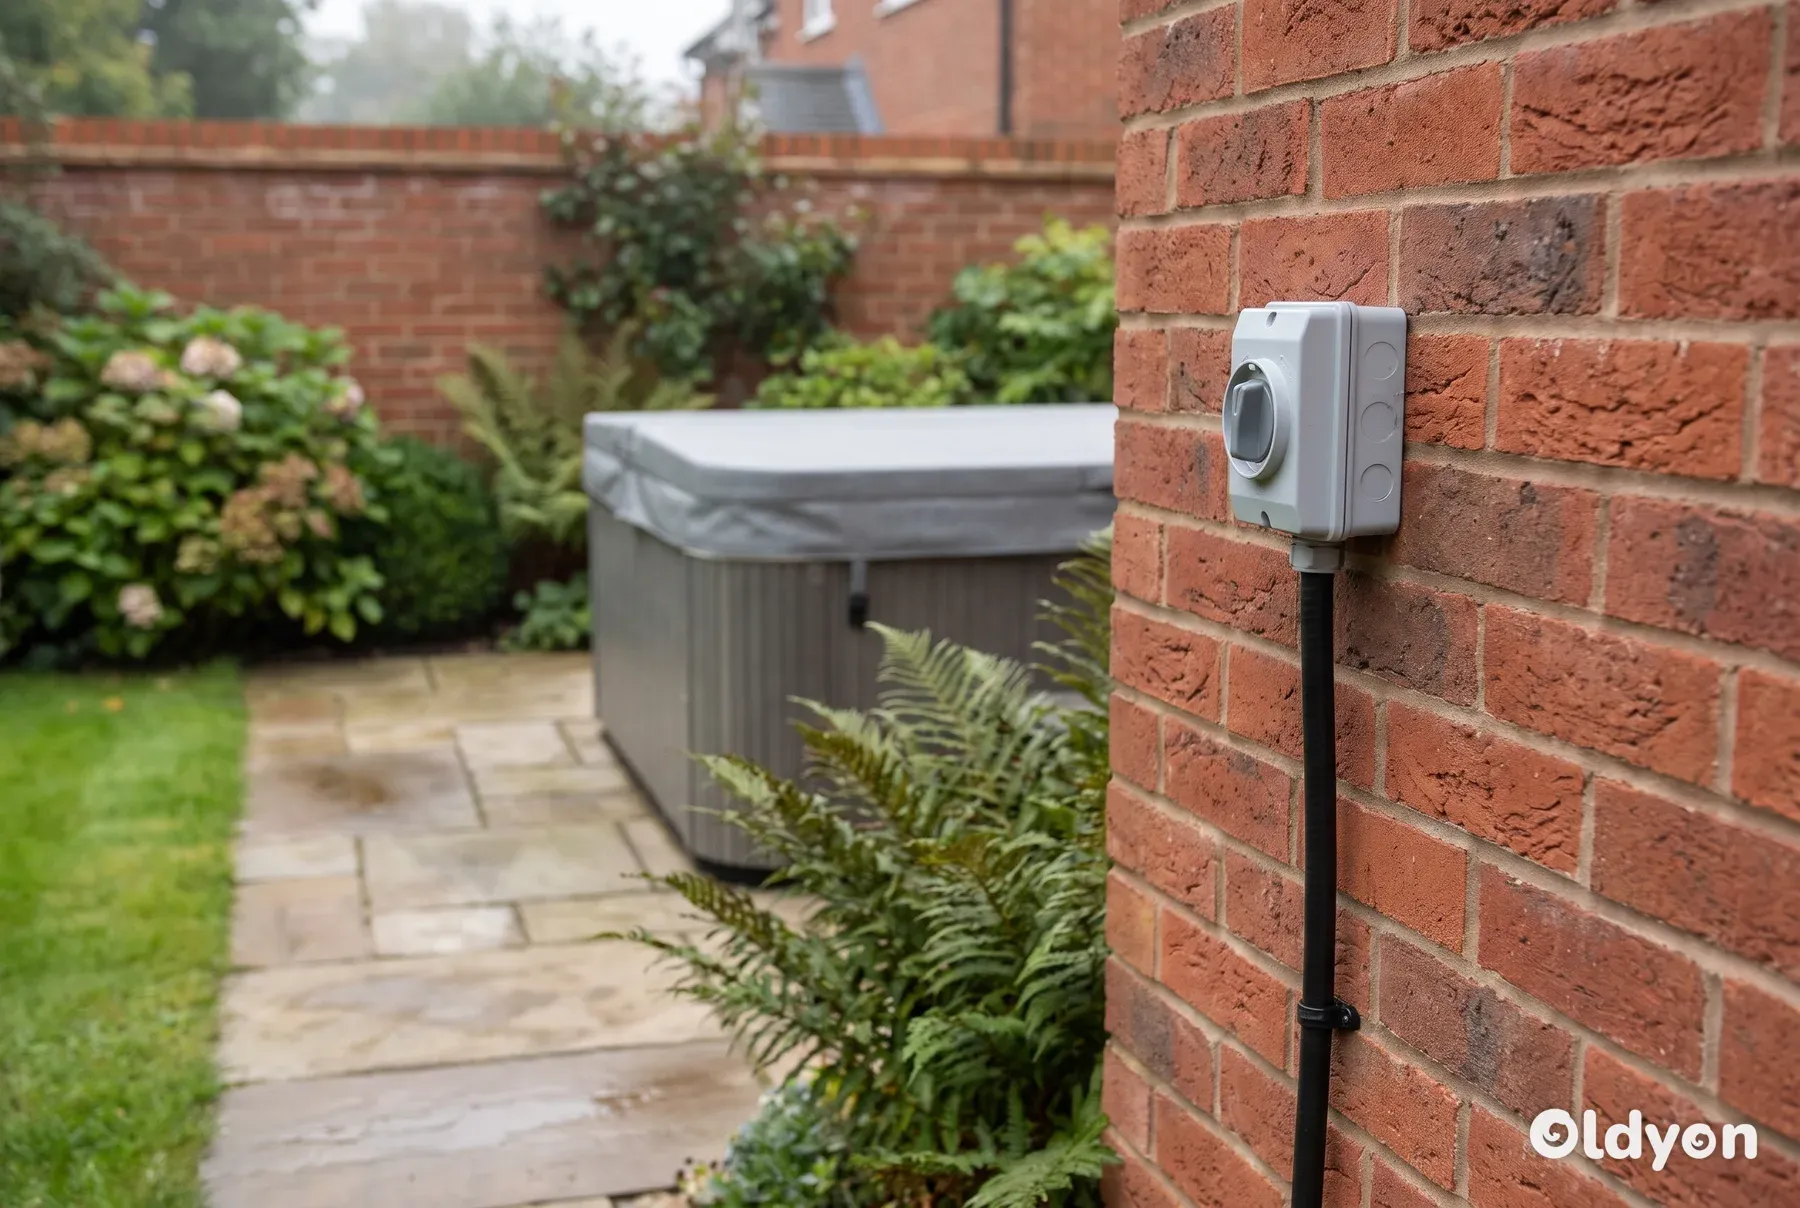
In the UK, hot tub wiring must meet BS 7671, the national wiring regulations. Most tubs need a dedicated circuit from the consumer unit, protected by a 30 mA RCD, with a lockable isolator switch so the tub can be switched off safely for maintenance. The tub's manual will state the current rating it needs.
Check that the consumer unit has spare capacity for the tub's load. An older home may need a consumer unit upgrade first, which is a separate job from installing the tub circuit, so ask for it to be priced separately.
If an upgrade is needed, expect it to cost roughly £1,500-£3,000 as a separate job, depending on the size of the board and how much of the existing wiring needs attention. Budget for it on top of the tub circuit itself.
For the tub circuit, budget roughly £800-£2,000 for the dedicated circuit, isolator and RCD work. The final figure depends mostly on the distance from the consumer unit to the tub and on local labour rates.
The isolator should be close enough for you to reach easily, but out of reach of anyone sitting in the water. Installers commonly place it at least 2 m from the tub, and your electrician will confirm the right position for your room.
Site the isolator within sight of the tub as well. Anyone switching it off can then see the tub and check that nobody is in the water or working on it, while the switch still stays out of reach of people in the water.
Keep sockets away from the tub. Any sockets or light fittings that stay in the room near it must be RCD protected and rated for damp or wet locations.
Adding a new circuit is notifiable building work under Part P of the Building Regulations in England and Wales. Use an electrician registered with a competent person scheme, who can certify the work, or notify building control yourself. Scotland and Northern Ireland have their own rules, and other countries have their own national standards.
Indoors, the electrician also has to think about the damp air. Lights, fans and sockets in the room need suitable IP ratings, cables must be protected from water, and extra bonding may be needed. Our guide to hot tub electrical requirements in the UK covers this in more detail, and Electrical Safety First has general advice on choosing a registered electrician.
Before you hire an electrician, ask:
- Have you wired hot tubs or spas before?
- Can you give me two or three references from similar hot tub or spa installations?
- Does the quote include bonding?
- Who handles notification to building control and the certificate?
- Will you give me a wiring diagram or certificate afterwards? Keep it for future fault-finding and for when you sell the house.
Once the tub is in place and filled, the electrician should make the final connection, test the RCD and confirm bonding continuity before the tub is switched on. Stay out of the tub and away from its metal parts while this is done.
How do you get a hot tub into the room?
Hot tubs are usually moved on their side on a spa dolly, so the width you need through doors is roughly the height of the tub plus a little for the dolly and for hands. A tub around 900 mm (about 3 ft) tall often needs a clear opening of about 1 m (3 ft 3 in). Check the exact figure with the delivery team.
Walk the whole route with a tape measure before you order. The narrowest point decides whether the tub fits, and it is often not the door you were worried about. Measure:
- The clear width of every gate, door and corridor, with doors fully open.
- The height of each opening, and any beams, pipes or light fittings overhead.
- Tight turns, where a long tub may not swing round.
- Steps and stairs, including headroom and landings.
- Gradients and soft ground outside, where a heavy dolly may sink.
On some models the cabinet side panels can be removed to cut roughly 10-15 cm (about 4-6 in) off the width for a tight route. Ask the manufacturer whether this is possible for your tub before delivery day, not on the doorstep.
If the route is too narrow, the options include removing a door frame, taking out a window, using a crane over the house, or choosing a smaller tub. Some people build the room around the tub, but then a future replacement means taking part of the room apart again. Our guide to hot tub dimensions and how much space you need helps you compare sizes.
If the route is too tight for any rigid tub, consider a modular or sectional tub. It is carried in as separate pieces and assembled inside the room, so it can pass through ordinary doorways and corridors that a one-piece shell could not.
Check the supplier's return policy and its cost before you order. A tub that will not fit may not be returnable, and arranging collection can be expensive.
Preparing the floor and the space
Before the tub arrives, fill any hairline cracks in the floor. If the floor slopes by more than about 10 mm per metre (about 1/8 in per foot), correct it with a self-levelling compound, then check the whole area with a long spirit level.
For hairline cracks under the tub footprint, use a hydraulic cement rather than a general filler. Hydraulic cement expands as it sets, which seals the crack tightly, and it resists water, so it will not break down when the floor gets wet.
Mark the tub's footprint and its clearance zone on the floor with masking tape. This lets you confirm the layout, the door swing and the walking space before anything heavy is moved.
Just before delivery, sweep and clean the floor under the footprint so it is dry and free of grit and debris. Grit trapped under the tub abrades the base as the tub settles and moves slightly in use.
Once the tub is in place, leave enough clear space to remove the cabinet panels on at least the side where the pumps and heater sit. A technician cannot repair what they cannot reach. Your manual will state the minimum clearances for your model.
As a general guide, leave about 45-60 cm (about 18-24 in) of clear space on the service sides with the access panels, and at least about 30 cm (about 12 in) on the other sides. Keep anything permanent, such as built-in cupboards or fixed steps, out of that zone.
Mark where the access panels and service points are, for example with a note kept with the manual or a small mark on the floor. A future technician can then find them without guessing.
Moving the tub safely
A rigid tub needs at least three or four adults to move it, or a team of professional movers. Protect walls and corners with blankets or padding, and lay plywood sheets over finished floors. Never drag the tub across the floor, because it damages both the floor and the cabinet base.
Once the tub is inside the room, rotate it carefully from its side to upright, with enough people to control the weight as it comes down. Then refit any cabinet panels you removed to get it through the route.
In what order should you plan the installation?
Doing the work in the right order avoids costly rework, such as tiling a floor and then cutting it up for a drain. This sequence works for most indoor projects:
- Choose the room and confirm the tub size you want, including its filled weight and height on its side.
- Measure the access route and agree it with the delivery company.
- Have the floor checked, and get a structural engineer's design if it is not a solid slab.
- Check with building control whether your plans need approval, especially for structural, drainage, ventilation or electrical work.
- Install drainage, such as a floor gully, and plan the hose route for refilling.
- Fit insulation, the vapour control layer, extraction and the dehumidifier.
- Have the electrician install the dedicated circuit, RCD and isolator.
- Lay the tanking membrane and the slip-resistant floor finish.
- Deliver and level the tub, then fill, balance the water and heat it gradually.
Levelling, checking and the first fill
The last stage needs some care. Even a few millimetres out of level causes uneven water depth, overflow at one side and stress on the shell, and a fitting that loosened in transit can leak into the room.
- Place a spirit level across the rim in several directions and adjust the feet until the tub is level every way.
- Open the access panels and inspect the visible plumbing fittings. Tighten any loose ones by hand only, because tools can crack plastic fittings.
- Start filling, and check the fittings for drips every 15 minutes while the tub fills.
- When the tub is full and the electrician has connected and tested it, run the jets briefly to check for leaks under pressure.
- Set the initial temperature to about 38°C.
- Test the jets, lights and controls, then add the start-up chemicals as your manual describes.
GOV.UK explains when you need building regulations approval in England and Wales. For the tub itself, our step-by-step guide on how to install a hot tub covers positioning, filling and first start-up.
Indoor hot tub planning in short
An indoor tub needs the room built around it. Confirm the floor can carry the filled weight, plan extraction and dehumidification for the steam, and finish the floor as a waterproof, slip-resistant wet area with a route to a foul drain.
Use a registered electrician for a dedicated, RCD-protected supply, keep the water balanced to control smells, and measure the access route before you order. If you get those right at the planning stage, an indoor tub can be a comfortable, year-round part of your home.
A hot tub in a warm, humid room makes overheating more likely. Keep sessions short, drink water, and get out if you feel dizzy or unwell. If you are pregnant or have a heart condition, speak to your GP or midwife first, and see the NHS pregnancy guidance on avoiding overheating.
Frequently asked questions
Can I put a hot tub on an upstairs floor?
Only with a structural engineer's design. A filled tub with bathers often puts several times more load on each square metre than a typical domestic floor is designed for. Strengthening usually means new steel or timber beams and building regulations approval. You also need a fully waterproof floor, because any leak will reach the ceiling below. For most homes, a ground floor slab is far simpler.
Do I need planning permission for an indoor hot tub?
Placing a tub inside an existing room does not normally need planning permission, but the building work around it may need building regulations approval. Structural changes, new drainage, ventilation and a new electrical circuit can all be covered. A new extension or outbuilding to house the tub may need planning permission as well. Check with your local council before work starts.
Can a hot tub sit directly on a tiled floor?
Many tubs can sit on a level tiled concrete slab, but check your manual first. Some manufacturers want the full base supported evenly, and some tubs rest on a frame or feet that concentrate the load. Tiles must be bonded fully, with no hollow spots that could crack. The floor under the tub must be flat, even if the rest of the room falls towards a drain.
How big a dehumidifier does an indoor hot tub need?
It depends on the room volume, the water surface area, how often the cover is off and how well the room is ventilated. A small portable laundry unit is rarely enough. Ask a ventilation or dehumidification specialist to size a unit for a room with warm open water, and use a humidity monitor to check it keeps the room no higher than roughly 50-60% relative humidity.
Why does my indoor hot tub room smell strongly of chlorine?
A sharp chlorine smell usually means chloramines, not too much chlorine. They form when sanitiser combines with sweat and skin oils. Test the water, bring free chlorine back to 3-5 ppm and pH to 7.2-7.6, then shock the water with the extract fan running. Showering before you use the tub and keeping the cover on between sessions both help stop the smell returning.
Will an indoor hot tub increase my home insurance?
It may, and you should tell your insurer before installation. They may ask about the structural checks, electrical certificate and how leaks are prevented. Keep copies of the engineer's report, the electrical installation certificate and any building control completion certificate. Without them, a claim for water or fire damage linked to the tub could be harder to settle.
Filed under