Why is my hot tub losing water?
Why is my hot tub losing water? Learn how to tell evaporation from a real leak with the bucket test, find the source and choose the right next step.
If you are wondering why is my hot tub losing water, the answer is usually one of two things: normal evaporation and splash-out, or a genuine leak in the plumbing, equipment or shell. A simple overnight bucket test tells you which one you have, and the result points you to the right fix.
Every hot tub loses some water, so a falling level on its own is not a reason to worry. What matters is how fast it falls and whether the loss carries on when the tub is covered and nobody is using it. The checks below follow the order a technician would use, starting with the quickest and cheapest.
How much water loss is normal for a hot tub?
There is no single figure, because evaporation depends on water temperature, weather, cover fit and how often the tub is used. As a rough guide, a well-covered tub at a normal temperature loses a small amount each week, often around a centimetre (about half an inch). You will see more after a busy weekend or a dry, windy spell.
A useful rule of thumb is that a well-covered tub loses up to about 1.25 cm (half an inch) a week to evaporation. A steady loss of more than about 2.5 cm (1 inch) a week, with the cover on and normal use, almost always points to a real leak rather than evaporation.
In volume terms, a drop of around 1.25 cm a week in a typical tub holding roughly 1,500 litres (about 400 US gallons) is in the region of 50-75 litres of water a week. The exact amount depends on the size of the water surface, so a larger tub loses more litres for the same drop in level.
A loss that you top up with the hose once a week or so is usually normal. A drop you can measure every single day, or a loss that suddenly speeds up without any change in use or weather, is worth investigating.
What makes a hot tub evaporate faster?
- Hot water: the warmer the water, the faster it evaporates. Keep it no hotter than 40°C (104°F).
- Leaving the cover off for long periods, including while the tub heats up.
- A worn, waterlogged or poorly fitting cover, especially one with a split hinge seal along the fold.
- Wind blowing across the open water.
- An exposed, open site: a tub in the open loses noticeably more water than one in a sheltered corner or enclosure.
- Cold, dry air in winter, when the gap between water and air temperature is largest.
- Running the jets or air blower with the cover open, because the bubbles increase the water surface exposed to the air.
A good cover is your main defence against evaporation. A cover in good condition that fits snugly stops the large majority of evaporation compared with leaving the water open. Adding a floating thermal blanket under the hard cover reduces it further and also helps the tub hold its heat.
Industry guidance commonly suggests that a good, well-fitting cover can cut evaporation by up to about 95% compared with uncovered water. Treat this as an approximate figure, because the real saving depends on the cover, the fit and the weather.
If your tub stands on an exposed site, a windbreak, a screen of planting or a more sheltered position can reduce evaporation. Wind passing over the cover edges and across the open water each time you lift the lid carries moisture away quickly.
When two or more of these factors apply at once, they add to each other. A tired cover, a high temperature, a windy site and heavy use together can lose far more water than any one of them alone. What looks like a leak may simply be heavy evaporation, and a better cover may be all you need.
Splash-out and drag-out
Water also leaves the tub on people. Every time someone climbs out, water goes with them on their skin, swimwear and towel, and lively use by children splashes more over the edge. If the level mostly drops after heavy use and holds steady between sessions, this is the likely cause.
Why is my hot tub losing water? The main causes
Most water loss comes from a short list of causes. The table below shows the usual sign of each one and what to do first, so you can match what you are seeing to the most likely culprit.
Cause | Typical sign | First step |
|---|---|---|
Evaporation | Slow, steady drop, faster in wind or with the cover off | Check cover fit, lower temperature if high |
Splash-out | Drop mainly after busy sessions | Top up, no repair needed |
Loose union or worn O-ring | Drips at large threaded nuts by the pump, heater or filter | Hand-tighten, then replace the O-ring |
Cracked union | Fast leak, visible split in the collar or body | Replace the whole union |
Pump shaft seal | Drips from under the pump, rust or noisy motor | Replace the seal soon |
Heater leak | Water around the heater tube or its fittings | Call a technician |
Drain valve | Wet ground at the base near the drain | Close the valve fully and refit the cap |
Jet, light or shell | Level stops falling at a set height | Dye test at that height |
How do you do the bucket test?
The bucket test compares your tub with a bucket of the same water in the same conditions. Both lose water to evaporation at a similar rate, so if the tub drops further than the bucket, the extra water is going somewhere else.
What you need before you start
Gather everything for the bucket test and the later checks in one go, so you do not have to stop part way through.
- A clean, sturdy bucket and a clean brick or a few washed stones to weigh it down.
- Waterproof tape or a waterproof marker.
- A torch or head torch.
- Leak detection dye made for pools and spas, or ordinary food colouring.
- Dry kitchen paper.
- A ruler.
- A notebook or a phone camera to record the results.
- Top up the tub to its normal level and let it come back up to its usual temperature.
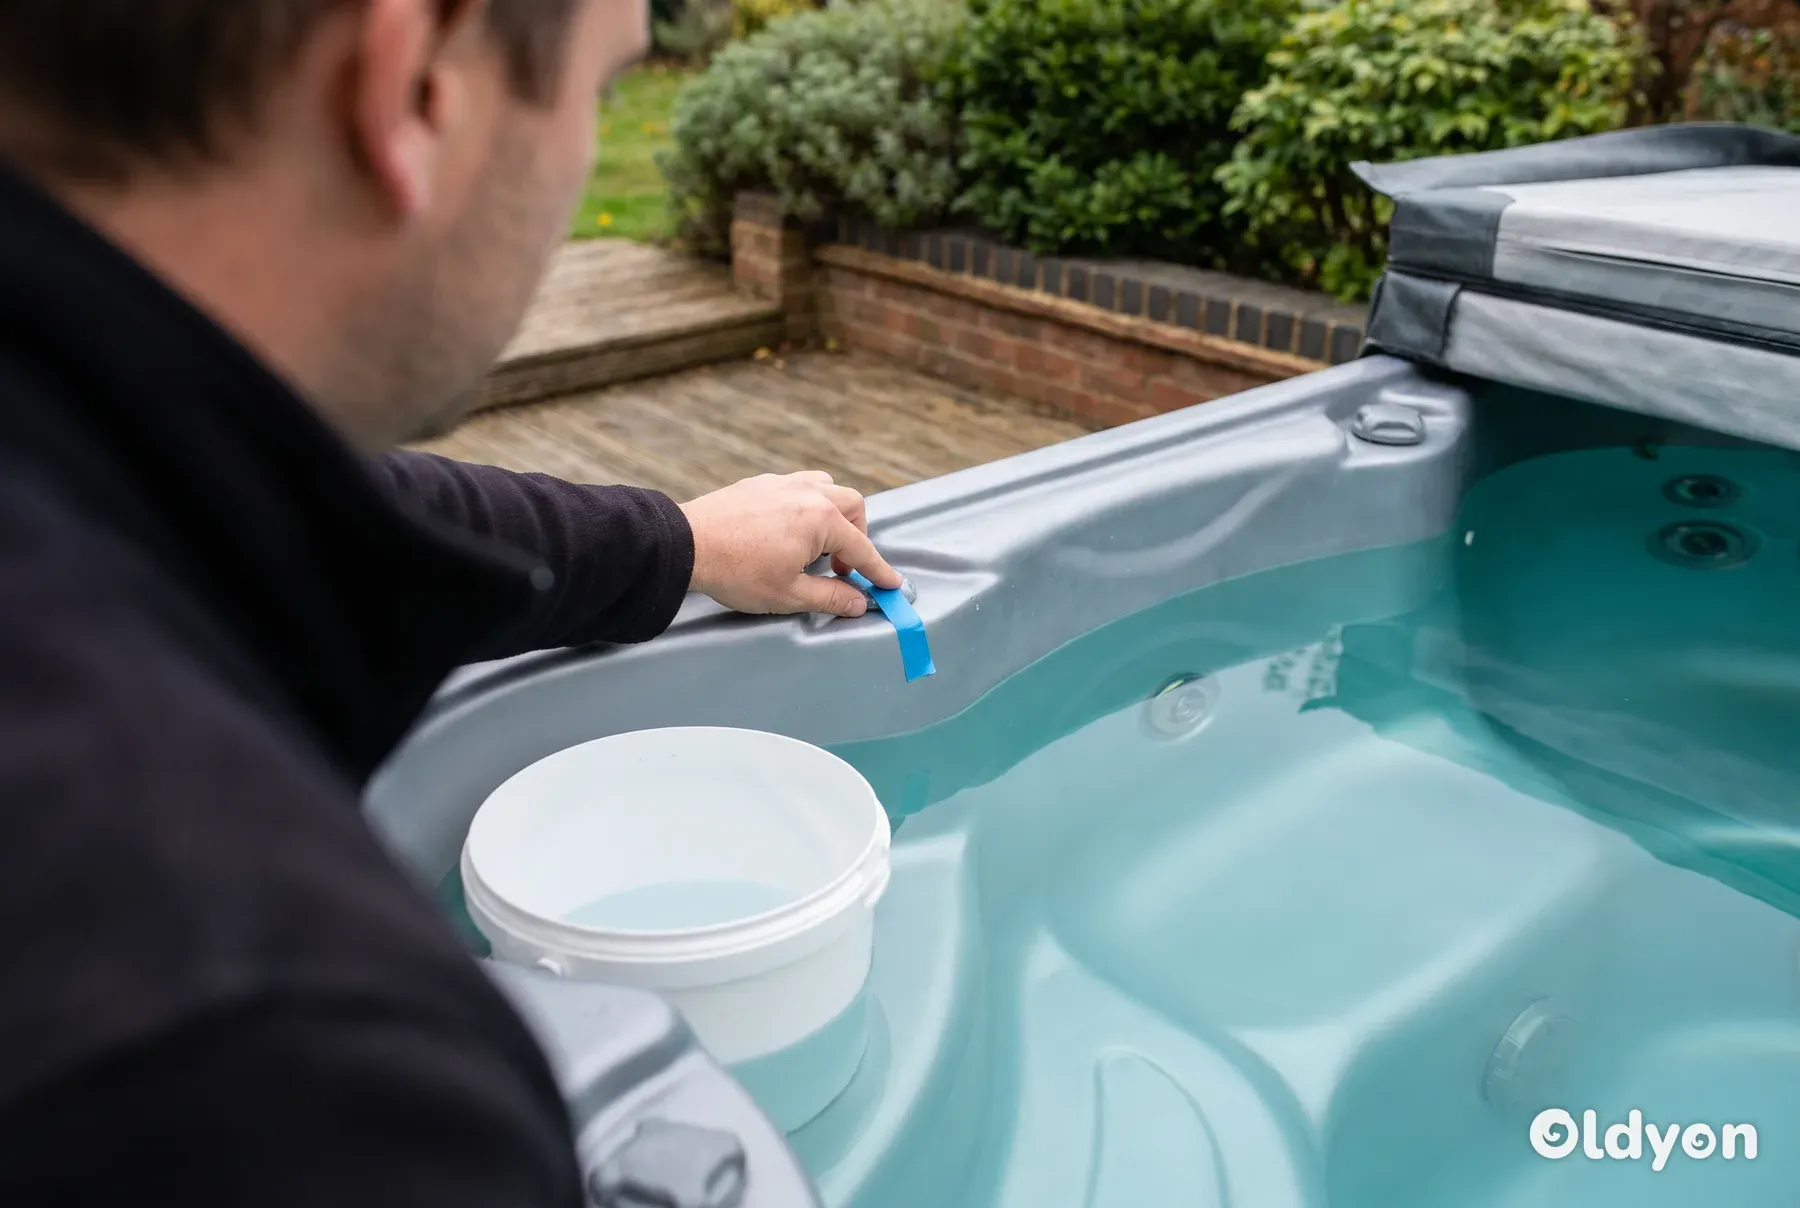
- Place a clean, sturdy bucket on a seat or step inside the tub. Put a clean brick or a few washed stones in the bottom so it cannot float or tip, and make sure the rim sits well above the tub water.
- Fill the bucket with water from the tub until the level inside the bucket matches the level outside it.
- Mark both levels: a line or strip of waterproof tape on the inside of the bucket, and a strip of tape on the shell or skimmer opening at the tub waterline.
- Leave the jets and air blower switched off so no water splashes into the bucket. Let the normal circulation and heating run as usual.
- Close the cover and do not use the tub.
- After 24 hours, measure how far each level has dropped from its mark with a ruler.
- If the result is close, repeat the test for a second day to confirm it.
Reading the result
- Both levels dropped by about the same amount: the loss is evaporation. Focus on the cover, temperature and how the tub is used.
- The tub dropped more than the bucket: you have a leak, and the difference shows roughly how much it loses each day.
- The tub dropped much more, and the drop continues even with the cover closed: the leak is significant and worth tracing straight away.
The bucket test only works when the conditions are equal: jets off, cover on and nobody in the tub. If the tub loses even a few millimetres more than the bucket each day, treat it as a leak and start looking.
How do you find where the water is going?
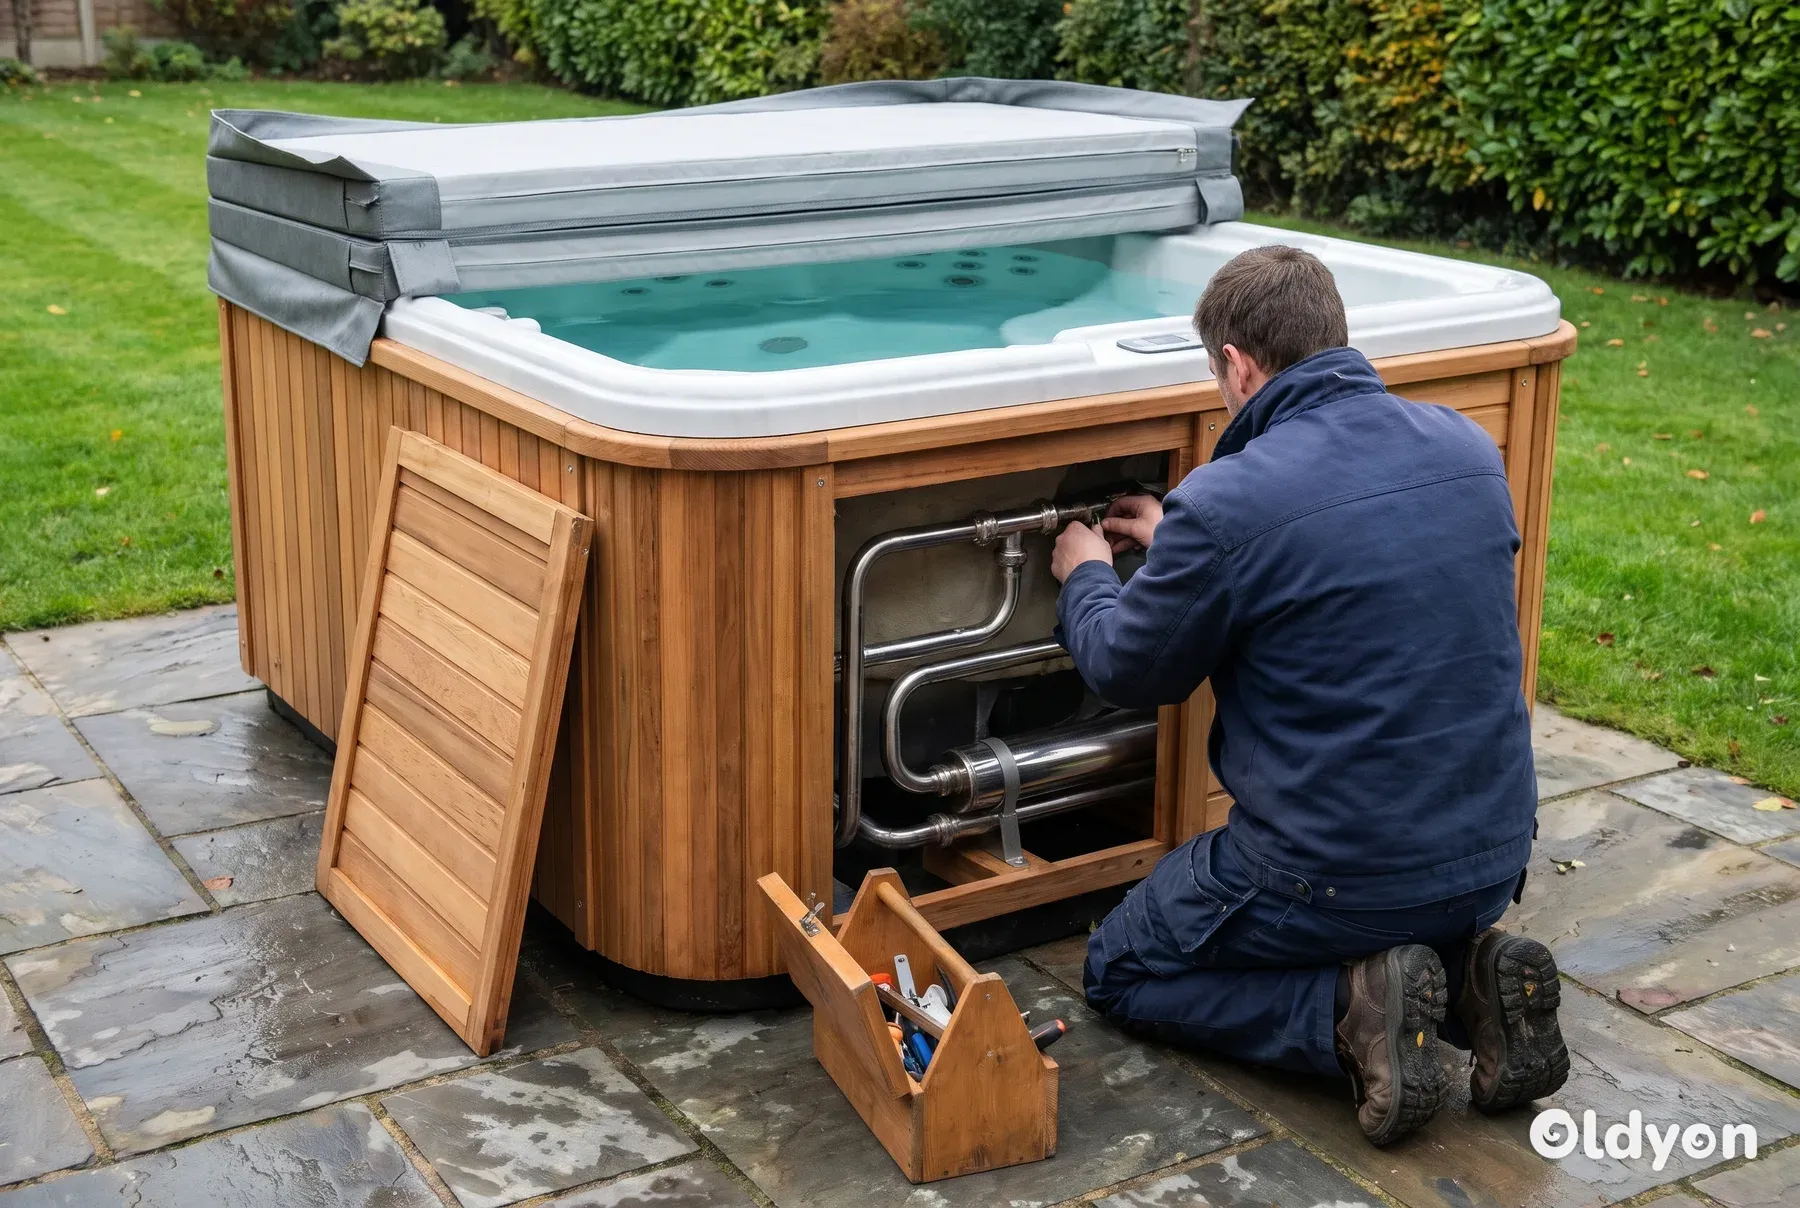
Once the bucket test confirms a leak, narrow it down step by step. Most leaks are in the equipment bay under the cabinet, so that is the place to start. For a fuller walk-through, see our guide on how to find a leak in a hot tub.
The full sequence of bucket test, level drop and dye test usually takes 24-48 hours. Most of that time is waiting for the water level to change, so the active work is short.
Write down the water level, date and time at every check, or take a photo of the tape mark with a ruler next to it. A clear record makes it easy to see whether the rate of loss speeds up, slows down or stops.
Switch off at the isolator before removing any cabinet panels. If you find water on or in the control box, heater wiring or pump motor, leave the power off and call a qualified hot tub technician or a registered electrician. Electrical Safety First has general advice on using electrical equipment safely around water.
Step 1: Look under the cabinet
- Switch off at the isolator and remove the access panels.
- Use a torch to look for drips, puddles, damp or soggy foam insulation and white, crusty deposits on the fittings. These deposits are dried minerals and chemicals left behind by a slow leak.
- Dry every fitting around the pump, heater and filter housing with kitchen paper.
- Refit the panels, restore the power and run the pumps for an hour or so.
- Switch off at the isolator again, remove the panels and check which fittings are wet now.
Step 2: Let the level fall
If you cannot see the leak, top the tub up and then stop topping up. Over a few days the level often falls to a certain point and stays there, which tells you the leak is at or just above that height. Check the jets, lights, skimmer or any fitting that sits at the new waterline.
Check and note the level every 6-8 hours while it falls. Regular readings show you clearly when the drop slows and stops, so you know the exact height to investigate.
- The level stops falling at the height of a row of jets: suspect a jet fitting at that height.
- The level stops below the jets but above the floor: suspect a union or plumbing joint at that height inside the cabinet.
- The level keeps falling towards the footwell: suspect the drain, the lowest plumbing, the fittings in the floor of the tub or a crack in the lower part of the shell.
Keep an eye on the level as it falls. If it drops below the skimmer or filter intake, switch the pumps off, because they can be damaged if they run without enough water. A level that keeps falling to the footwell points to a leak low down, such as the drain, the main plumbing or the fittings in the floor of the tub.
A crack in the lower part of the shell can also let the level fall all the way to the footwell. Once the tub is drained, inspect the floor and lower walls with a bright torch, paying close attention to the area around the footwell drains.
Step 3: Compare pumps on and pumps off
Measure the loss over 24 hours with the pumps running normally, then over 24 hours with them switched off. Only do the powered-off test in mild weather, as an unpowered tub can freeze and suffer far worse damage in a frost.
If the tub loses more with the pumps running, the leak is probably on the pressure side, which runs from the pump outlet through the heater to the jets. If it loses more with the pumps off, look at the suction side, which runs from the skimmer and footwell drains back to the pump.
Step 4: Use a dye test on suspect spots
- Switch the pumps off and wait at least five minutes for the water to go completely still.
- Fill a syringe, turkey baster or small squeeze bottle with leak detection dye made for pools and spas. If you have none, ordinary food colouring works, and a bright red or blue is easiest to see.
- Work in good light. Release a small amount of dye gently, right next to one suspect spot such as a jet surround, light lens or fine crack.
- Watch the dye for 30-60 seconds without disturbing the water.
- If the dye is drawn into a gap or crack, you have found a leak point.
- If the dye spreads out evenly in all directions, there is no leak at that spot, so move on to the next one.
- Use only a little dye each time, as it spreads quickly and large amounts can tint the water.
Test one spot at a time. Start with the jets at the height where the level stopped falling, then work through each jet, union and visible plumbing connection in turn. If you add dye to several spots at once, you cannot tell which one drew the colour in.
Where do hot tubs usually leak?
Hard-shell hot tubs tend to leak in the same handful of places. Knowing what each one looks like helps you decide whether it is a simple job or one for a technician.
Many equipment-bay leaks, especially at the pump shaft seal, the unions and the heater, only drip under pressure while the pumps are running. The drips are often so small that they evaporate or soak into the foam before a puddle forms, which is why the check with the pumps running in Step 1 matters.
Pump shaft seal
The shaft seal sits between the wet end of the pump, which holds water, and the electric motor. When it wears out, water drips from underneath the pump, sometimes leaving rust or mineral trails. If the leak is ignored, water can reach the motor bearings, which then become noisy and may fail.
Look for white, crusty mineral deposits around the wet end of the pump, where it joins the motor, or a faint damp ring on the motor housing. Either sign suggests the seal is weeping, even if you never see a drip.
Replacing a shaft seal means taking the pump apart. It is a common repair, but because it involves the motor and its wiring, many owners leave it to a technician. Acting early is cheaper than replacing a whole pump later.
A shaft seal left leaking for months can let moisture into the motor windings. At that point a fairly cheap seal repair can turn into a much more expensive motor or pump replacement.
Union fittings and O-rings
Unions are the large threaded nuts that connect the pump and heater to the pipework. They can work loose with vibration and temperature changes, and the rubber O-rings inside flatten or crack with age. A drip from a union is one of the most common leaks and one of the easiest to fix.
Unions are not only found at the pump and heater. Many tubs also have unions where the pipework connects to the filter housing, so check those connections in the same way.
Check the unions while the pumps are running, because the water pressure makes a weak seal show itself. A slightly wet ring, beads of water or streaks running down from the union collar are strong signs that this union is the leak point.
Start by tightening the union firmly by hand, never with excessive force. If it still drips, close the shut-off valves if your tub has them, undo the union, and fit a new O-ring lightly coated with a silicone-based lubricant. Avoid petroleum jelly, which can damage some rubber seals.
O-rings are easily pinched or twisted when a union goes back together. Seat the new O-ring evenly in its groove and check that no part of it is trapped before you tighten the nut, otherwise the new seal can leak straight away.
A union can also crack rather than simply work loose. A split in the union collar or in the union body leaks fast, and no amount of tightening or a new O-ring will stop it: the union itself has to be replaced. A cracked union is one of the usual causes when the tub loses more than about 2.5 cm (1 inch) a week, so look closely at each collar with a torch for hairline splits.
Heater
The heater is usually a metal tube with unions at each end. Leaks can come from those unions, from the seals where the element enters the tube, or occasionally from the tube itself. Because the heater carries mains power, leave anything beyond a simple union to a qualified technician.
Other leak points on the heater are the end caps and the pressure switch fitting. The pressure switch sits in a small port that monitors water flow or pressure, and its seal can weep with age.
Heaters are often mounted horizontally, so small drips run along the underside of the tube and soak into the surrounding foam. This makes heater leaks among the most often missed during a quick look behind the panel, so check the underside with a torch and a sheet of dry kitchen paper.
Jets, lights and the shell
Each jet sits in a body fixed through the shell with a gasket behind it. Over time these gaskets harden and the jet bodies can loosen, letting water seep behind the shell. Light lenses have similar seals. Cracks in the acrylic shell itself are less common, but they can appear on older tubs or after frost damage.
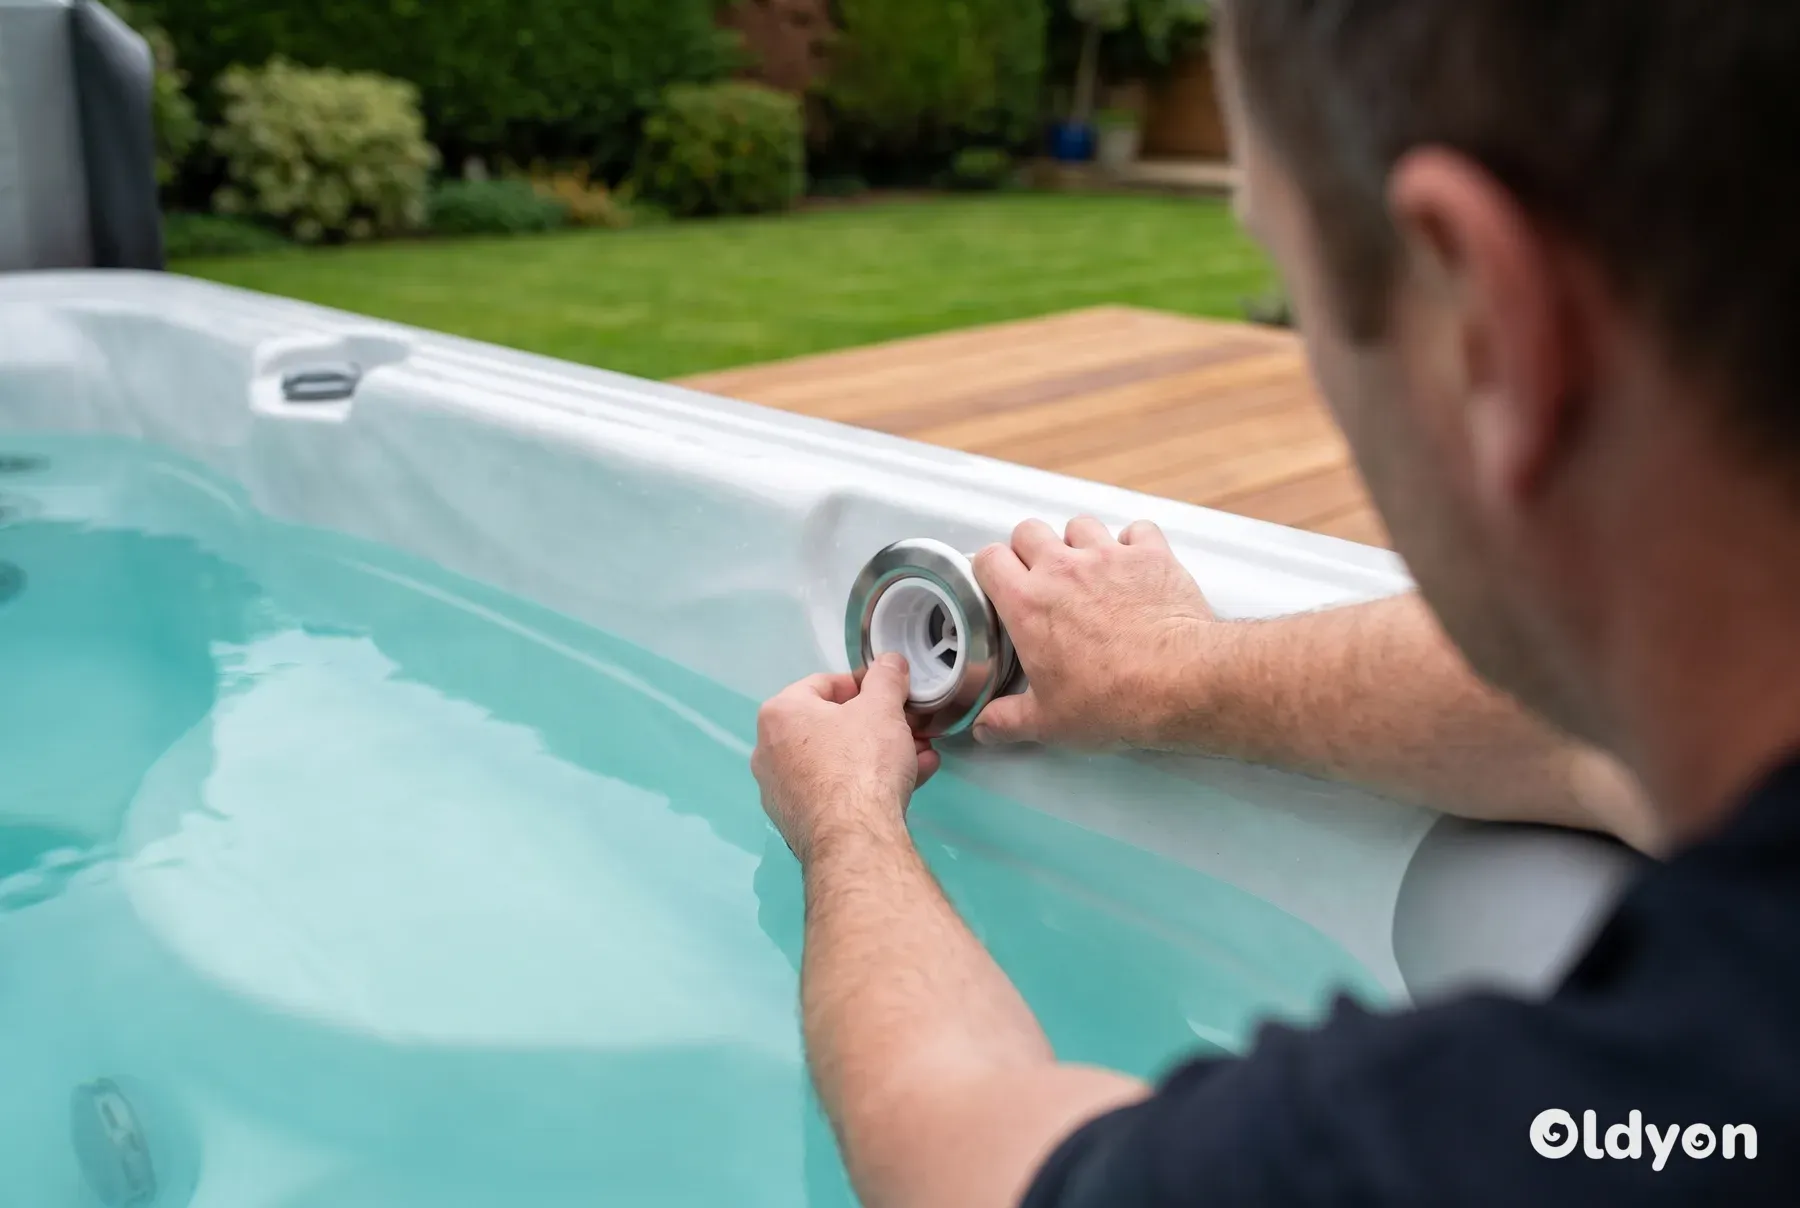
Jet gaskets harden and shrink with age, especially in tubs more than about five years old and in tubs that are drained and refilled often. Most jet gaskets can be replaced by a careful owner with basic tools such as a screwdriver, and the gaskets themselves are inexpensive parts. Check your manual, as the method varies between jet types.
A crack in the shell above the waterline will not lose water, but a crack at or below the waterline will. Sunlight (UV exposure) and repeated freezing and thawing are common causes on older acrylic tubs.
To look for cracks, shine a bright torch along the inside of the shell with the tub full. Hairline cracks often show up as faint, discoloured lines that are hard to see in daylight.
Small leaks around fittings can sometimes be sealed from the outside, but the right sealant for a hot tub depends on the material and on whether the area stays underwater. A crack that runs through the shell needs a professional assessment.
A small, shallow crack can sometimes be patched by the owner with an epoxy repair kit made for acrylic or for hot tub shells. Larger cracks, or any crack that suggests the structure is moving, need professional acrylic repair or restoration.
Drain valve
Check that the drain valve is fully closed and that its cap is fitted. A valve that has been nudged open, or one with a worn internal seal, can leak slowly onto the ground at the base of the tub. This is easy to miss if the tub sits on gravel or grass.
A drain valve can drip even when it looks fully closed, because the rubber washer inside it wears out. The washer is a cheap part and usually takes only a few minutes to replace.
To check the valve, place a dry sheet of kitchen paper directly under it and leave it for 24 hours. Even a very slow drip will leave a visible wet mark on the paper.
The cover
The cover cannot leak water out of the tub, but it controls how much evaporates. A waterlogged or cracked cover allows far more evaporation than a cover in good condition. A cracked vinyl skin, a worn edge seal or a cover that has become much heavier are all signs that it needs replacing.
As a rough guide often given in the industry, a waterlogged or cracked cover can allow around two to three times as much evaporation as a sound one. The exact figure varies, but the difference is usually large enough to look like a slow leak.
Inflatable and portable tubs
Inflatable tubs usually lose water through punctures, seams, valves or the connections to the pump unit. Spraying soapy water over a suspect area and watching for bubbles or seepage is a quick check. Our guide to repairing an inflatable hot tub puncture explains how to patch one properly.
What should you do next for each cause?
Once you know where the water is going, the next step is usually clear. Match your result to the list below.
- Evaporation: check the cover for gaps, splits and waterlogging, keep it closed between uses, and avoid running the tub hotter than you need.
- Splash-out: no repair is needed. Top up as required and test the water afterwards.
- Loose union or worn O-ring: tighten by hand or replace the O-ring, then dry the fitting and check it again after a day.
- Cracked union: replace the whole union, as tightening or a new O-ring will not seal a split collar or body.
- Drain valve: close it fully, refit the cap, replace the washer, and replace the valve if it still drips.
- Jet gasket: replace the gasket, then dye-test the jet again once the tub is refilled.
- Pump seal, heater or shell crack: book a technician, and keep the tub topped up above the skimmer until they arrive.
- Small leak you cannot reach: a leak sealer may help, but only for minor seepage in the plumbing. Read whether hot tub leak sealers work before you try one.
How much do these repairs cost?
Most of the common fixes need only inexpensive parts: an O-ring, a drain valve washer, a jet gasket, a pump shaft seal or a heater union seal. These parts usually cost from a few pounds to a few tens of pounds each, although prices vary between models and suppliers.
Larger jobs cost many times more. A full heater replacement, professional restoration of an acrylic shell or a new cover often costs several hundred pounds, and a technician's labour is charged on top of the parts. Ask for a written quote that shows parts and labour separately.
This is why it pays to act on a leak early. Replacing a worn seal while it is still a small drip costs little, but leaving it can damage the motor, the heater or the foam insulation, which costs far more to put right.
Mistakes to avoid
- Smearing silicone sealant over a leaking union instead of replacing the O-ring. The silicone fails quickly and makes the proper repair harder.
- Tightening plastic unions with a wrench or grips. The plastic cracks easily, and a cheap O-ring job becomes a pipework repair.
- Ignoring a small leak. Small leaks almost always get worse, and the whole time the tub has to pay to reheat cold top-up water.
Keep the water balanced while you top up
Every top-up dilutes your chemicals, so test the water after adding fresh water. Aim for free chlorine of 3-5 ppm or bromine of 3-5 ppm, pH of 7.2-7.6 and total alkalinity of 80-120 ppm. Your manufacturer may give slightly different targets, so check your manual.
Test pH and sanitiser at least twice a week while the tub is in regular use. Acidic water, with a pH below 7.2, speeds up the wear of O-rings, gaskets and pump seals, so balanced water is one of the cheapest ways to prevent leaks.
Evaporation removes water but leaves minerals behind, so calcium hardness slowly rises in a tub that is topped up often. Aim for 150-250 ppm, and drain and refill at the interval your manual recommends. Cloudy, foamy or discoloured water is a chemistry problem, not a sign of a leak.
Calcium hardness matters in both directions. If it is too low, the water can corrode the shell and metal fittings. If it is too high, scale builds up on the heater element, which makes it work harder and can shorten its life.
Colour can be a clue to metal problems. Green water can come from copper released by corroding fittings, and orange or rust-coloured water from corroding metal parts. If you see discoloured water together with unexplained water loss, ask a technician to inspect the metal components, including the heater, for corrosion.
Water problems that are not leaks
Topping up often can upset the water, and owners sometimes mistake a water quality problem for part of the leak. Use this list to work out what the water is telling you.
- Green water: most often algae growing because the sanitiser level has dropped too low, and less often copper from corroding fittings. Shock the water, bring the sanitiser back into range and clean the filter.
- Yellow or brown water: usually iron or manganese in the fill water, which is especially common with private well or borehole supplies. The water turns tea or rust coloured when chlorine oxidises the metals.
- Metal discolouration: treat it with a metal sequestrant and a proper shock dose, following the product directions, then clean the filter. Draining off or adding more of the same fill water does not fix it, because new water brings in more metal.
- Cloudy water: usually unbalanced pH, low sanitiser or high total dissolved solids, which is the build-up of minerals, chemicals and organic matter in the water. Rebalance first, and drain and refill if the dissolved solids are high.
- Foamy water: usually lotions, shampoo, deodorant or detergent left in swimwear. It is not a sign of a leak, so ask bathers to shower first and rinse swimwear in clean water.
- Slimy water or a slippery film on the shell: a biofilm, which means the sanitiser has failed and bacteria are growing. Sanitise and shock the tub rather than hunting for a leak, and consider a pipe cleaner product at the next drain.
What happens when the balance is wrong?
- High pH (above 7.6): scale forms on the heater and other equipment, and the water tends to turn cloudy.
- Low pH (below 7.2): seals and metal parts corrode faster, and the water can irritate the skin and eyes.
- Low total alkalinity: the pH swings widely and becomes hard to hold in range.
- High total alkalinity: the water tends to turn cloudy and the pH drifts upwards.
- Too little sanitiser: algae and bacteria can grow in the water and on the shell.
- Too much sanitiser: bathers can get sore eyes and irritated skin. Let the level fall back into range before using the tub.
Which other symptoms should you check alongside water loss?
Water loss rarely happens on its own. Other changes in how the tub behaves can help you work out where the problem is and how urgent it is.
- Rising electricity bills: a leak, especially at the heater, means the tub constantly heats cold top-up water, so running costs climb.
- A heavy, waterlogged cover: it loses most of its insulating value and can add noticeably to running costs, so replacing it often pays for itself over time. Commonly quoted estimates put the extra cost at roughly 15-25%, because the heater has to run far more to make up for the lost insulation.
- A buzzing or humming pump: this can mean an airlock, a failing pump capacitor, or a pump running dry because the water level is too low. Check the water level first.
- A pump that keeps switching on and off: a low water level is a common cause, and running a pump dry quickly damages the motor.
- Weak jets or no flow: a low water level can let air into the pipes and cause an airlock, a pocket of trapped air that stops water flowing properly through the pump.
- Struggling to reach or hold temperature: combined with water loss, this may point to a leak at the heater assembly or a failing temperature sensor.
- Erratic temperature: as the level falls, there is less water for the heater to warm, so the temperature can rise and fall unpredictably. Top up to the normal level before suspecting the heater.
If the pump sounds wrong or keeps cycling, switch off at the isolator, top the water up to its normal level and then restart. If the noise or cycling continues with the level correct, ask a technician to check the pump.
When should you call a hot tub technician?
Many leaks are simple to fix, but some jobs are better left to someone with the right tools and training. Stop and book a professional if any of these apply.
- Water has reached the control box, heater wiring or pump motor.
- The leak is from the pump shaft seal or the heater itself.
- The level drops fast enough to see a difference within a few hours.
- The leak is inside the foam insulation, where the pipes are hidden.
- There is a crack through the shell.
- The timber frame or base feels soft or damp, which suggests a long-running leak.
- You have done the bucket, level and dye tests and still cannot find the source.
- You have tightened the unions, replaced the obvious seals and gaskets and checked the drain valve, yet the tub still loses water at the same rate.
- The tub still loses more than about 5 cm (2 inches) a week after all the DIY checks, which suggests a shell crack or a major plumbing failure.
Technicians can find hidden leaks with pressure-testing kits or electronic listening equipment. They pressurise each plumbing circuit separately, which lets them isolate the exact section of pipe that is leaking without opening up the whole cabinet.
Do not cut into the foam insulation blindly to chase a leak. The pipes run through the foam, and it is easy to cut or crack a pipe you cannot see, which adds a second leak to the first.
Is it worth fixing an older hot tub?
Often it is. Most leaks come from parts that can be replaced, such as seals, unions and jet gaskets, and a tub with a sound shell and frame can keep going for many more years. Age alone is not a reason to give up on it.
A well-maintained, good-quality hot tub can last around 15-20 years, although this varies between manufacturers and with how the tub has been cared for. A ten-year-old tub is not automatically worn out.
These points favour repairing an older tub:
- The problem is a single, isolated fault.
- The shell, cabinet and electrics are otherwise in good condition.
- Parts for the model are still easy to get.
- The water chemistry has been well kept over the years.
The picture changes if the frame has rotted, the shell is cracked, parts are no longer available, or several major components are failing at once. Tubs filled completely with foam insulation can also take many hours to dig out a hidden leak. Ask a technician for a written quote and compare it with the value of the tub before deciding.
A tub with a long history of neglected water chemistry and repeated seal failures is often close to the end of its economic life, even if each fault looks repairable on its own. Poor water wears every seal and metal part at once, so one repair tends to be followed by the next.
A common rule of thumb is that a repair is usually worthwhile if it costs less than about half the price of a comparable new tub. Above that, replacement often makes more sense, especially for a tub over ten years old.
Foam insulation that has become saturated with water is very expensive to put right, because it has to be dug out and replaced. If a technician finds widespread soaked foam, that is a strong reason to consider replacing the tub rather than repairing it.
Summary: why your hot tub is losing water
Some water loss is normal, especially from evaporation and splash-out. The bucket test is the quickest way to tell normal loss from a leak, because it compares your tub with water kept in exactly the same conditions.
If the tub loses more than the bucket, look under the cabinet first, then let the level fall, compare pumps on and off, and use dye on suspect spots. Fix simple union and drain leaks yourself, and call a technician for pump seals, heaters, shell cracks and anything near the electrics.
Frequently asked questions
Can I keep using my hot tub while it is leaking?
If the leak is slow and well away from the electrics, you can usually keep using the tub while you arrange a repair. Keep the water topped up above the skimmer so the pumps and heater have enough flow. If water is reaching any electrical part, or the level falls quickly, switch off at the isolator and stop using the tub until it has been checked.
Why is my hot tub losing water but I cannot see any wet spots?
Water can disappear without leaving a visible puddle. It may soak into gravel, grass or soil under the base, or into the foam insulation inside the cabinet, where it stays hidden. In warm or windy weather, small drips can also evaporate before they collect. Run the bucket test first, then check the ground at the base and the foam for dampness.
How can I find a leak when there are no wet spots?
Use the dye test. With the pumps off and the water still, release a little dye next to each jet, light and fitting at or below the height where the level stops falling. If the dye is drawn in, water is escaping there, even if it soaks straight into the foam insulation and never drips onto the cabinet floor. This makes the dye test the most useful check when the cabinet looks dry.
Does a hot tub lose more water in winter?
It can. In cold, dry weather the difference between the warm water and the air is at its largest, so more steam escapes whenever the cover is open. A cover that has become waterlogged or split along the hinge also lets more heat and moisture out. Keeping the cover closed and in good condition makes the biggest difference in winter.
Do I need to drain the hot tub to find a leak?
Usually not at first. The bucket test, the level-drop method and the dye test all work with the tub full, and many leaks in the equipment bay can be seen with the water in. You may need to lower the level or drain the tub to replace some parts, such as jet gaskets or the drain valve, so check your manual before starting.
Can a hot tub cover cause water loss?
A cover does not leak water out of the tub, but a poor cover allows much more evaporation. Gaps at the edges, a split hinge seal or a cover that no longer sits flat all let warm, moist air escape. A cover that feels heavy may have absorbed water, which also reduces how well it insulates. Replacing a failed cover often slows water loss noticeably.
Is it normal for an inflatable hot tub to lose water?
Inflatable tubs lose water to evaporation and splash-out just like hard-shell tubs, and their covers often insulate less well, so some loss is expected. A steady drop that continues when the tub is covered and unused points to a puncture, a seam, a valve or a loose pump connection. The bucket test works on inflatable tubs too, as long as the bucket is stable.
Filed under