Do hot tub leak sealers work?
Do hot tub leak sealer products work? Learn which leaks they can seal, which they cannot, how to use one safely and how to rebalance your water afterwards.
Yes, a hot tub leak sealer can work, but only on the right kind of leak. Liquid stop-leak products are good at plugging pinholes and slow weeps in pipework that leaks under pressure. They will not fix a loose union, a worn pump seal, a split pipe or a cracked shell, which all need a proper mechanical repair.
This guide explains how these products work, how to tell whether your leak is a good candidate, how to dose and run a sealer step by step, and how to bring the water back into balance afterwards. If you have not found the leak yet, do that first, because the answer decides whether a sealer is worth trying at all.
How does a hot tub leak sealer work?
Most liquid sealers contain fine particles, fibres or polymers suspended in a carrier liquid. You add the product to the water and let the pump circulate it through the plumbing. The particles stay suspended in the water until they reach a place where water is escaping.
Liquid sealers are normally added with the tub full and at its normal operating level, with the circulation running as usual. You do not need to drain the tub before treating it. In fact, the water has to be in the pipes and flowing out through the leak for the product to reach it.
At a leak, the water flowing out through the hole carries particles with it. They catch on the edges of the opening, bind together and gradually build a plug. Some formulas are designed to set or stiffen when they meet air on the outside of the hole, which helps the plug hold.
Many spa sealers are based on sodium silicate, a mineral solution sometimes called liquid glass. When it is carried out through a leak and meets air on the outside of the pipe, it dries into a hard, glass-like plug. Reading the ingredients or the safety data sheet tells you whether your product works this way or relies on fibres or polymers instead.
This explains both the strength and the limit of these products. They rely on a small, steady outward flow to pull material into the gap. A tiny hole with water seeping through is ideal. A wide gap, a joint that moves, or a leak where water is not flowing outwards gives the particles nothing to build on.
Formulas differ between manufacturers, so the exact chemistry, treatment time and instructions vary. Always follow the label of the product you use rather than general advice, including this guide, where the two disagree.
Which leaks can a liquid sealer fix, and which can it not?
The short version: sealers suit small holes in rigid parts that do not move. They do not suit joints, seals, moving parts or anything larger than a pinhole. The table below gives a quick reference, and the sections after it explain why.
As a size guide, liquid stop-leak sealers are generally rated for holes up to about 3 mm (1/8 inch) across. If the hole or gap you can see is wider than that, a liquid sealer is unlikely to bridge it, and a direct repair is the better choice. Check your product label, as some state their own limit.
Leak type | Will a sealer help? | Better fix |
|---|---|---|
Pinhole in rigid pipe | Often yes | Sealer, or cut out and replace the section |
Slow weep from a glued joint | Sometimes | Re-glue or replace the fitting |
Loose or drippy union | No | Tighten by hand or replace the O-ring |
Worn pump shaft seal | No | Replace the mechanical seal |
Cracked pump housing | No | Replace the housing |
Split pipe or cracked fitting | No | Replace the damaged part |
Cracked shell | No | Professional shell repair |
Leaking jet body or light lens | Rarely | Reseal or replace the gasket |
Good candidates for a sealer
- Pinholes in rigid PVC pipework, often caused by age, a small manufacturing flaw or a sharp edge rubbing on the pipe.
- Slow, steady drips that you can see but that are too small to measure by eye.
- Hairline weeps from a glued joint where the glue has a tiny void but the joint itself is not loose.
- Small leaks in places you cannot reach without removing a lot of insulation foam.
- Leaks on the pressure side of the pump, where water is pushed outwards while the jets run.
- Wooden hot tubs where the joints between the staves ooze slowly. A circulating liquid sealer is sometimes used here, but only if the label says it suits wooden tubs.
Leaks a sealer will not fix
- Unions and threaded connections. These seal with an O-ring or gasket, and a drip usually means the nut is loose or the ring is worn, flattened or twisted.
- Pump shaft seals. Water dripping from the gap between the pump motor and the wet end means the mechanical seal needs replacing.
- Cracked pump housings. A crack in the plastic body of the pump, as opposed to a worn shaft seal, is also beyond a liquid sealer, and the housing needs replacing.
- Heater housing leaks around the terminals or the connecting nuts.
- Split or cracked pipes, often after frost or physical damage, where the gap is far too large to bridge.
- Cracks in the acrylic shell or the structure underneath it.
- Holes or gaps wider than about 3 mm (1/8 inch).
- Leaks above the water line, because no water flows through them while the tub is filled to normal level.
Suction-side leaks
Suction-side leaks are a grey area. On the suction side of the pump, the pipe is under slight vacuum while the pump runs, so air can be drawn in rather than water being pushed out. Because sealer particles travel to a leak with escaping water, these leaks often respond less well, and some only seal while the pump is off.
A common sign of a suction-side leak is air bubbles mixed into the water coming out of the return jets while the pump runs. These leaks may only lose water when the pump is off. If you see air at the returns, expect a circulating sealer to struggle to reach the leak, and consider checking the suction pipework and unions directly.
How do you know if your leak is a good candidate?
Before you buy anything, confirm that you really have a leak. A hot tub loses some water every day through evaporation, splashing and water carried out on bodies and towels. If you are unsure, our guide on why a hot tub loses water covers the normal causes and the simple checks.
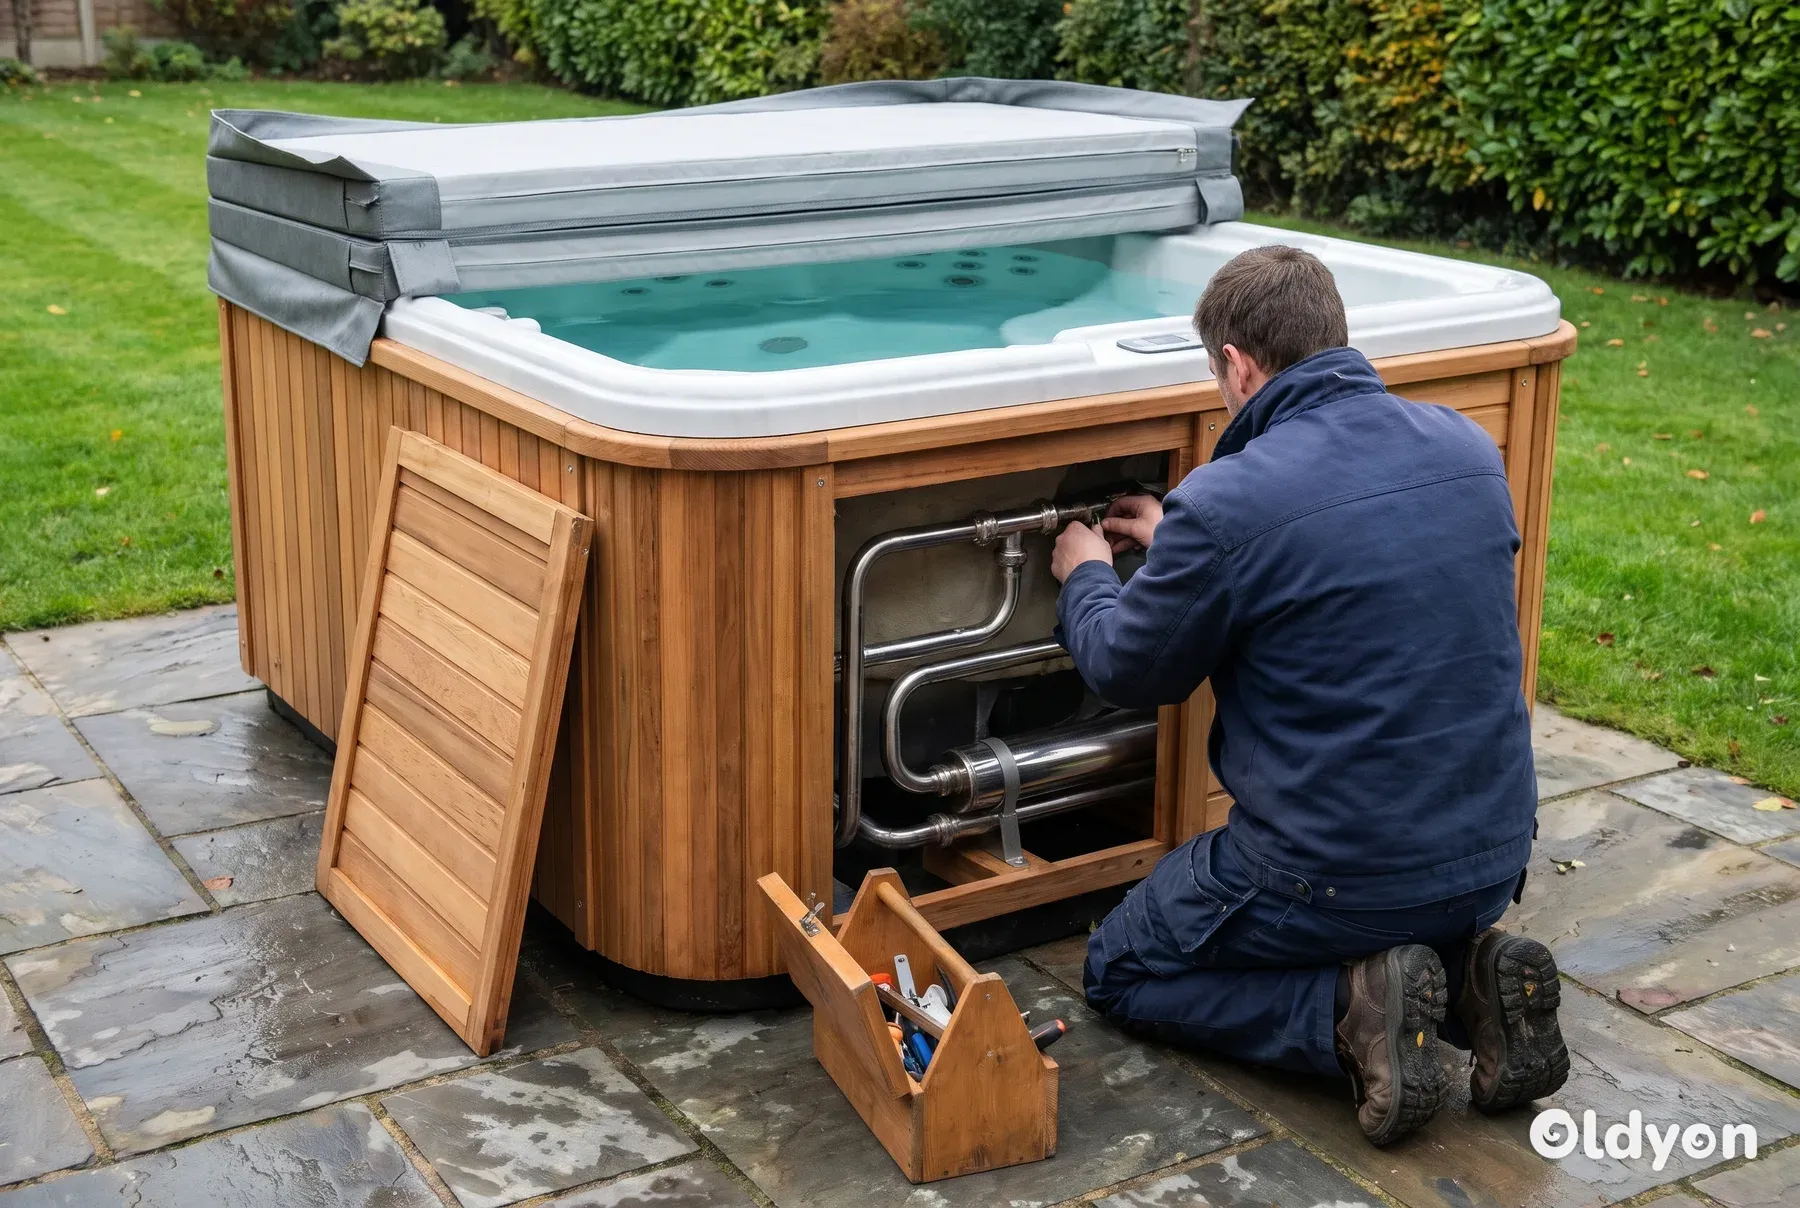
Next, find where the water is going. The method is to watch where the level stops dropping, test with the pump on and off, and then open the cabinet to look for wet foam, drips or white mineral crust. Our step-by-step guide on how to find a leak in a hot tub walks through each test in order.
Before you remove any cabinet panel or touch the equipment bay, switch the hot tub off at the isolator. Water and electrical parts sit close together inside the cabinet, so never work on it while the power is on.
Once you have a location, ask three questions. Is it a small hole rather than a joint or a seal? Is it on a rigid part that does not move? Does water escape outwards through it when the pump runs? If the answer to all three is yes, a sealer has a fair chance. If any answer is no, a direct repair is usually the better use of your time and money.
Sealers are sometimes used when the leak cannot be found at all, for example when it sits deep under expanding foam. This can work, but it is a gamble. If the hidden leak turns out to be a union or a pump seal, the product will not help and you will still need to find it.
Liquid sealer or epoxy putty: which do you need?
Liquid sealers and epoxy putties solve different problems. A liquid sealer goes into the water and works from the inside, finding the leak on its own. An epoxy putty is a two-part paste that you knead together and press onto the outside of a part you can reach and dry.
Use a liquid sealer when the leak is small and hard to reach, or when you suspect several tiny weeps. Use an epoxy putty when you can see the leak, reach it with your hands and dry the surface thoroughly, such as a pinhole on an exposed pipe or the body of a fitting.
If you choose epoxy putty, the preparation and curing decide whether it holds. Follow the maker's instructions, which usually run along these lines.
- Switch off at the isolator and lower the water below the damaged spot if needed.
- Clean and dry the surface around the leak, and lightly roughen it if the instructions say so.
- Cut off the amount of putty you need and knead the two parts together until the whole piece is one uniform colour, with no streaks. This shows the parts are fully mixed and the putty will activate properly.
- Press the putty firmly onto the damaged spot, working it into and around the hole.
- Leave it to cure fully for the time stated by the maker before you refill that area or use the tub.
Some epoxy putties are rated for wet or underwater use. These can be pressed onto a leak below the water line without draining the tub, but only if the label clearly says the product is suitable for that. Standard putties need a clean, dry surface, or they will not bond properly.
Once fully cured, epoxy putty can be sanded, drilled or cut to shape. This is useful for smoothing a repair so it sits flush around jets, lights, spillways and drains, which are typical spots for putty repairs. Wait for the full cure time on the label before you shape it.
Neither is a fix for a moving joint or a structural crack. For more on which adhesives and sealants suit which surfaces, including silicone around the cabinet and PVC cement on pipework, see our guide on which sealant to use on a hot tub.
Inflatable hot tubs are a separate case. Many liquid sealers are designed for rigid plumbing and acrylic tubs, and are not meant for vinyl or PVC liners. A puncture in an inflatable is usually best fixed with a patch kit, as explained in our guide to repairing an inflatable hot tub puncture.
What to look for when choosing a hot tub leak sealer
Leak sealers look similar on the shelf, but the details on the label matter. Compare these points before you choose one.
- Spa use: the label should say it is suitable for hot tubs or spas, not only swimming pools. Hot tub water runs warmer and the plumbing has narrower pipes and smaller filters.
- Dose per volume: check how many litres one bottle treats. A typical hot tub holds around 1,000 to 1,500 litres (about 265 to 400 US gallons), but check your own manual for the exact figure.
- Maximum dose: check the upper limit on the label as well as the normal dose. Products cap how much you can add per volume of water, and you should never go above it.
- Treatment time: some products ask you to circulate for a few hours, others for a day or longer. Pick one that fits when you can leave the tub out of use.
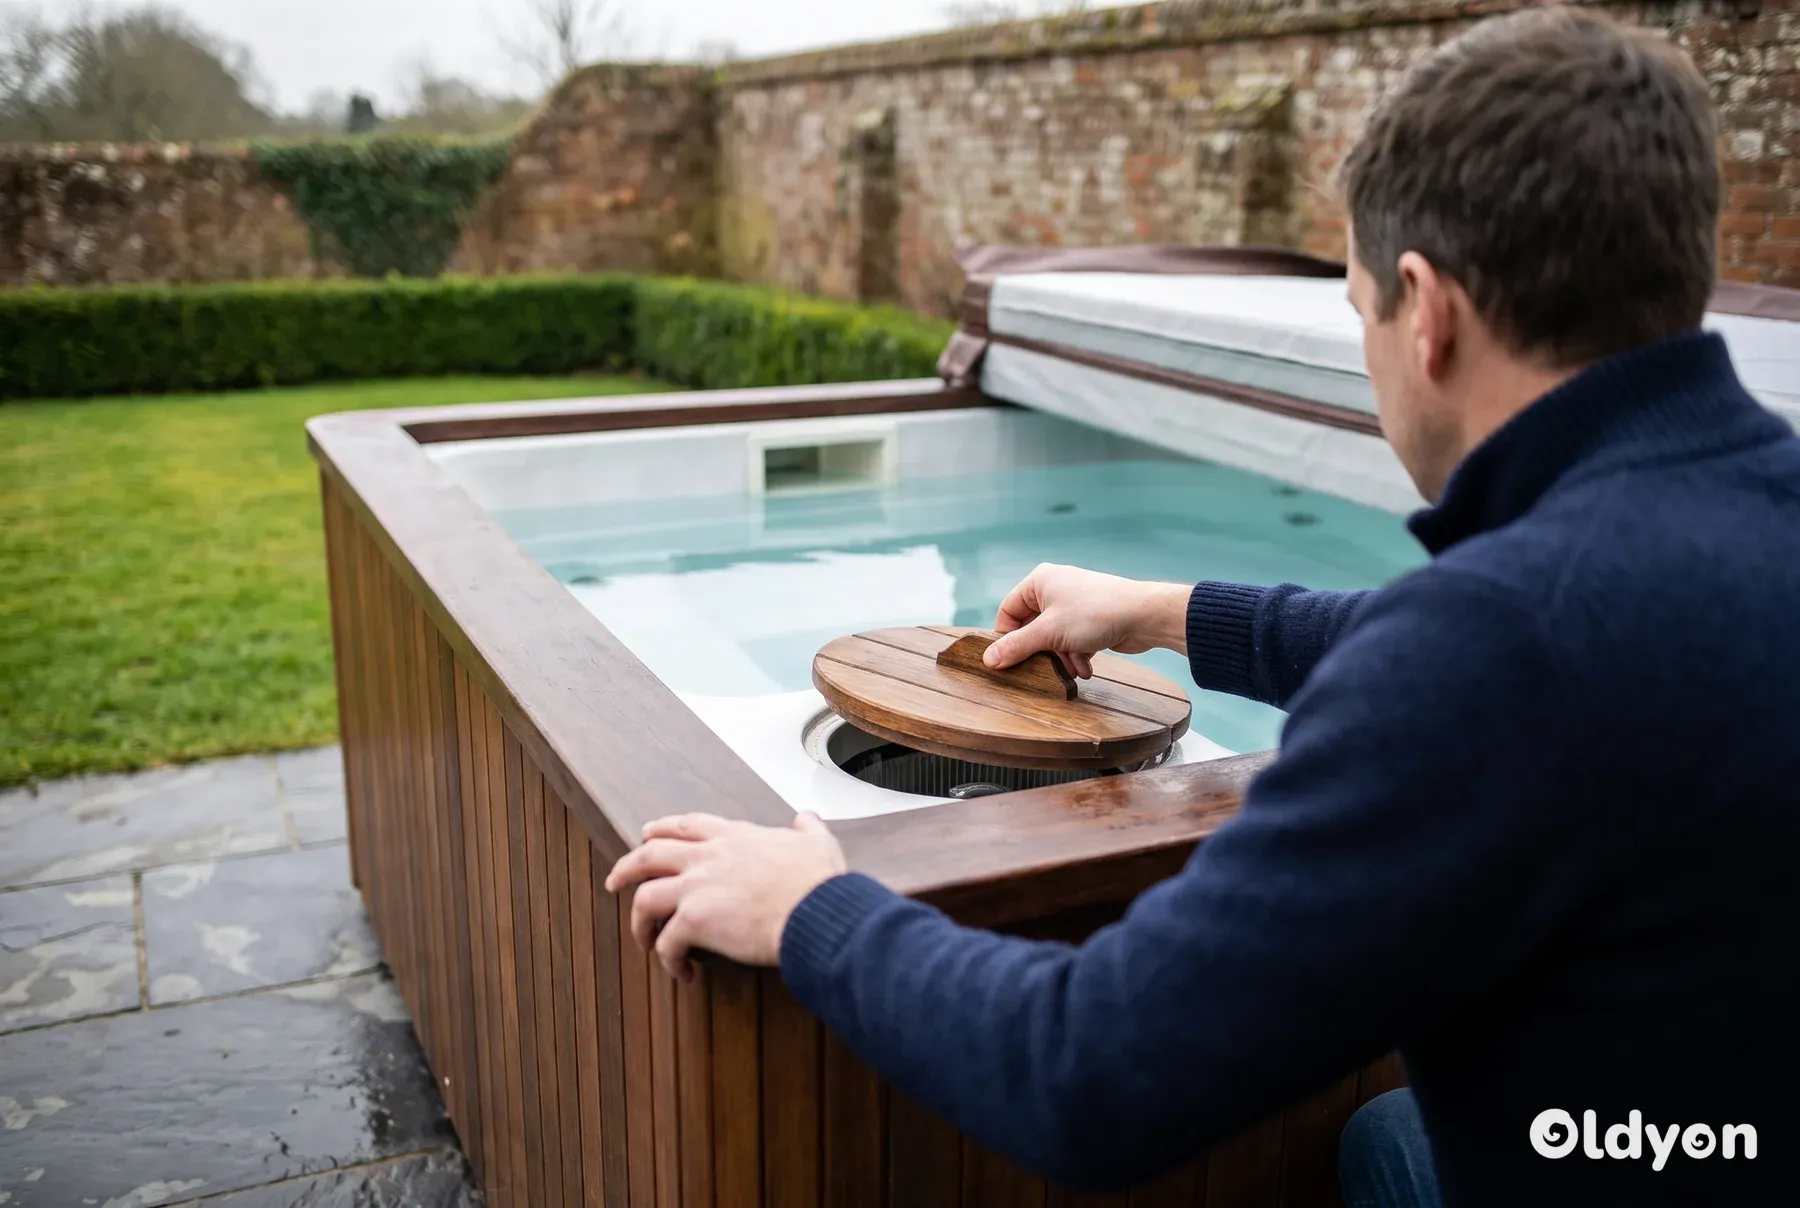
- Filter instructions: most products ask you to remove the filter during treatment so it does not catch the sealing particles before they reach the leak.
- Sanitiser compatibility: check whether the label mentions chlorine, bromine, ozone or UV, and whether you need to lower sanitiser levels or switch off an ozonator during treatment.
- Saltwater systems: if your tub uses a salt chlorinator, contact the sealer manufacturer and ask for the safety data sheet before you add it. Many labels do not confirm that the product is compatible with high-salt water.
- Equipment type: if you have an inflatable or soft-sided tub, make sure the product is approved for that material.
- Ingredients: the label or safety data sheet shows whether the product is sodium silicate based or uses fibres or polymers, which tells you how it seals.
- Safety data: reputable products have a safety data sheet available from the manufacturer that tells you how to handle and store them.
Spa sealers are generally compatible with ordinary chlorine and bromine sanitiser systems, and you do not need a water change before treating. Salt, ozone and UV systems are the ones to check. If your tub uses any of these, confirm with the sealer manufacturer that the product is suitable before you add it.
Ozone and UV deserve particular care with polymer-based sealers. Both systems can break down polymer formulas faster than ordinary chlorine does, which may weaken the product before it reaches the leak. Ask the manufacturer whether you should switch the ozonator or UV unit off during treatment, and for how long.
Working out the dose
The dose is set by your water volume, and it varies a lot between products. One spa product may ask for roughly 30 ml (1 fl oz) per 1,900 litres (500 US gallons), while another may ask for roughly 240 ml (8 fl oz) per 1,135 litres (300 US gallons). Never assume one product's dose applies to another.
Scale the label dose in proportion to your own tub. For example, a tub of about 1,500 litres (400 US gallons) would need roughly 300-320 ml (10-11 fl oz) at the second rate above. A small inflatable may need only about half a bottle of some products, provided the label approves it for inflatables.
Never exceed the maximum dose stated on the label, even for a second treatment. Each product sets an upper limit per volume of water. For example, one product caps its dose at about 1 litre (1 quart) per 19,000 litres (5,000 US gallons). Extra sealer will not make a stronger plug and can clog filters and narrow pipes.
What a sealer costs compared with a repair
As a broad guide, a single treatment of a spa leak sealer usually costs somewhere in the region of £15 to £40, depending on the brand and the volume it treats. Epoxy putty kits fall in a similar range. A professional repair costs more, but it fixes the actual fault rather than masking it.
Professional leak repair is typically many times the cost of a sealer. US estimates put it at roughly $250 to $1,000, which is about £200 to £800, and UK prices vary with the fault and the access needed. That gap is why a sealer is a logical first try for a minor leak that fits the criteria above.
Mistakes to avoid
- Using a sealer before you know what is leaking. You may spend money on a product that cannot work on your fault.
- Under-dosing to save product. Too little sealer may not build a plug that lasts.
- Copying the dose from a different product. Doses differ widely, so always use the rate on your own bottle.
- Leaving the filter in when the label says to remove it. The filter traps the sealer and can clog.
- Mixing two different sealer brands in the same water.
- Adding a sealer to a tub with a known pump seal leak. It will not help, and the pump needs attention anyway.
- Using the tub during treatment. Wait until the label says the water is safe to use again.
How to use a hot tub leak sealer step by step
These are general steps that match the instructions on most spa sealers. The order and timings on your product label always take priority. Wear gloves and eye protection when handling any spa chemical, and read the safety information before you open the bottle.
- Confirm the leak location and type, and check that it is a small hole on a rigid part rather than a joint, seal or crack.
- Fill the tub to its normal operating level so the water reaches every part of the plumbing.
- Mark the water level with a strip of tape or a washable marker on the shell, and note the time. This gives you a clear measure of whether the treatment worked.
- Test the water and adjust pH into the range the label asks for. Many products work best at around pH 7.2-7.6, but some state their own range.
- If the label asks you to, let sanitiser levels drop or turn off any ozonator or UV system during treatment.
- Switch off at the isolator, remove the filter cartridge, then restore power.
- Shake the bottle well, because the sealing particles can settle at the bottom during storage.
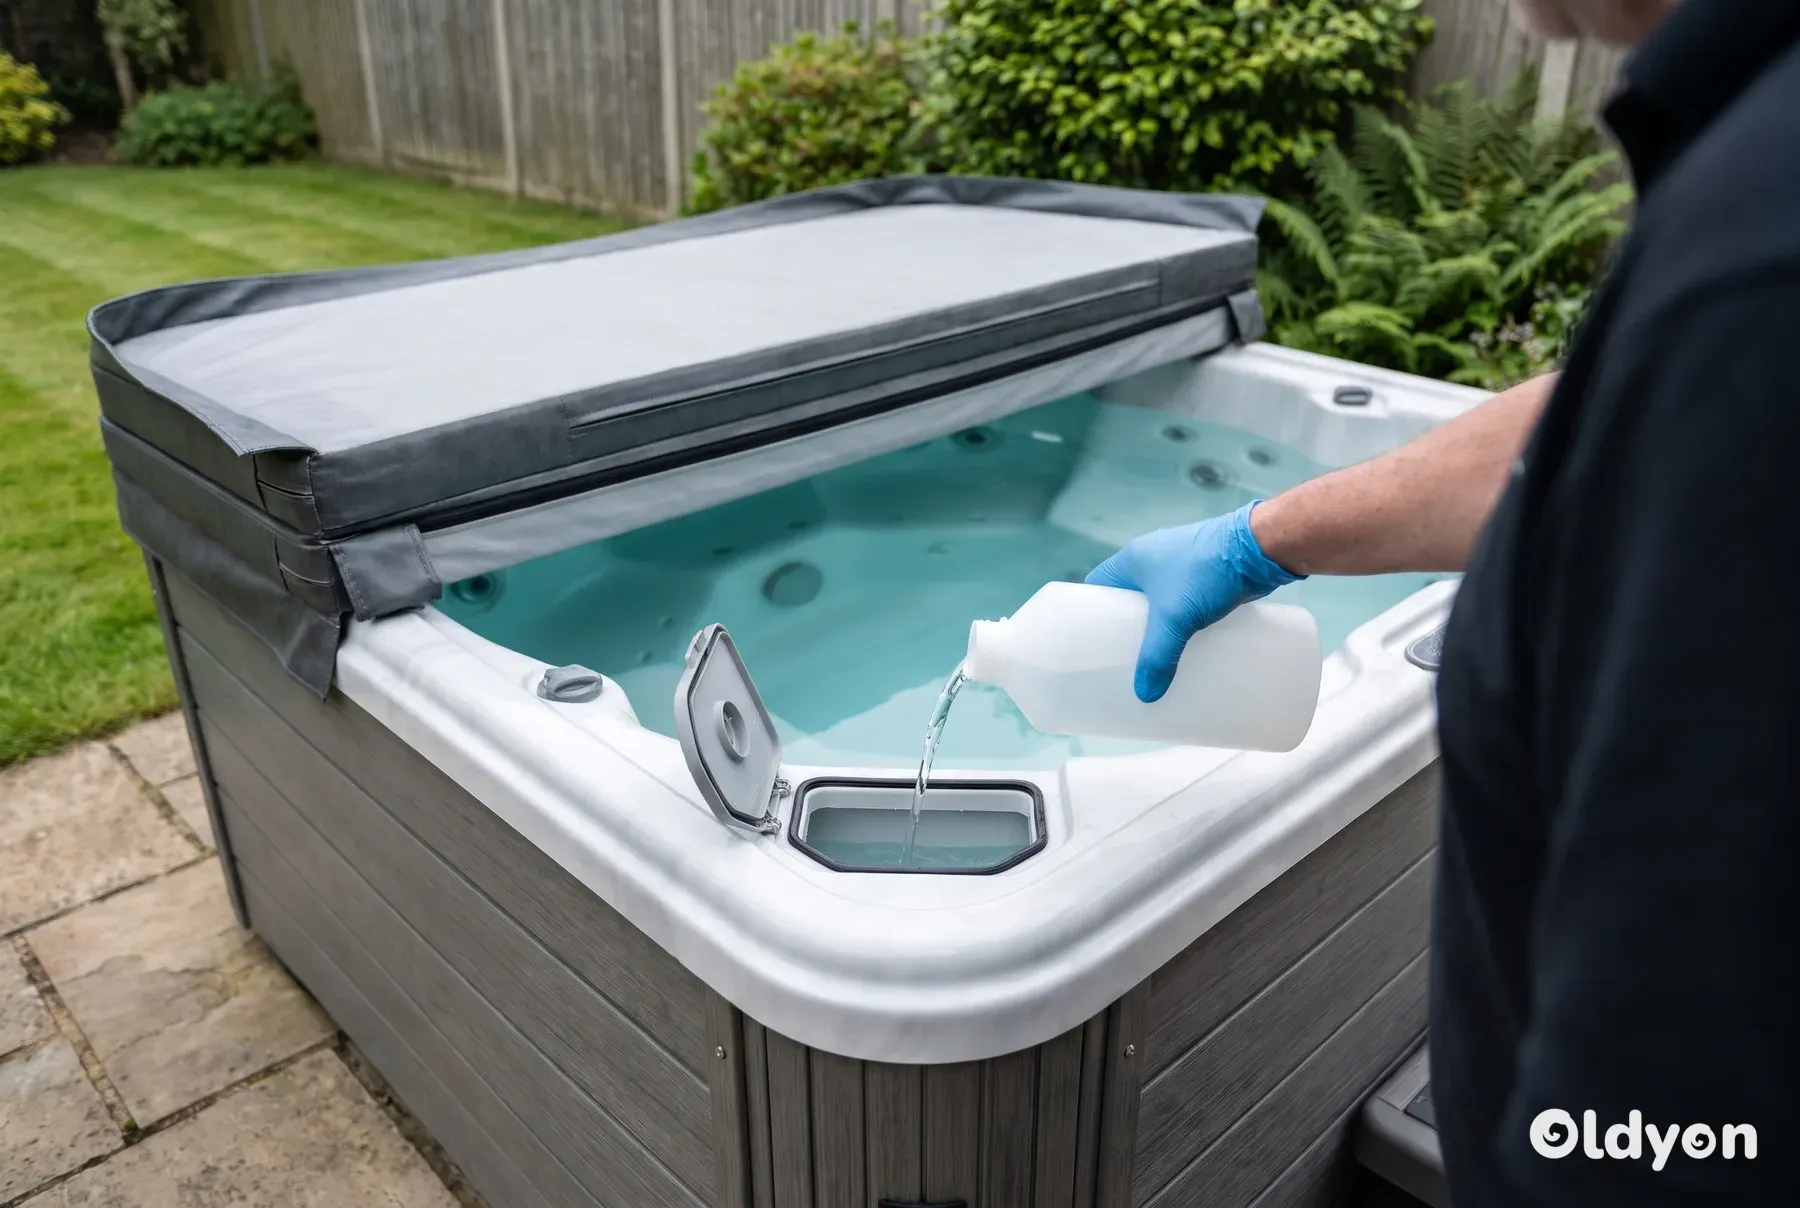
- Add the measured dose using your label's method. Where the leak location is known, some labels say to pour it into the water near that spot. Where the location is unknown, they usually say to add it through the skimmer or suction intake. Some labels also ask you to switch the pump off while adding the product and then resume circulation.
- Unless your label says otherwise, pour the sealer in slowly with the pump running, directly in front of the skimmer or another suction intake. The flow then draws the product into the plumbing evenly instead of letting it settle in one spot.
- Run the jets and circulation pump for the time stated on the label so the product reaches every pipe. Some products also ask you to keep the heater running, others do not.
- If the label says so, stir or agitate the water at intervals. Some heavier formulas sink to the lowest point in the tub or plumbing, and stirring brings them back into suspension so they keep reaching the leak. Because these formulas settle quickly, stir roughly every 4 to 6 hours while the water circulates.
- Leave the tub covered with circulation running for the full treatment time. Do not use the tub during this period.
- Check the leak point and the water level at intervals. A successful seal usually shows as a slower drip that gradually stops.
- Recheck the water level against your mark after 24 hours. Many sealers claim to stop minor leaks within about 24 hours, while others need 24 to 48 hours to cure, so allow the full time on your label before you judge the result.
- When the treatment time ends, rinse any unused sealer out of the filter cartridge straight away if it was in contact with the treated water. Do not let a filter dry out with sealer in it, because dried sealer clogs the filter media.
- Clean or replace the filter and refit it, then move on to rebalancing the water.
If spa chemicals or sealer splash into your eyes, rinse with clean running water for several minutes and check the product label. If irritation continues, contact NHS 111 or speak to a pharmacist, and take the product label with you.
If the leak slows but does not stop, some labels allow a second treatment. If a second dose makes no difference, the leak is almost certainly too large or the wrong type, and further doses are unlikely to help.
How do you rebalance the water after using a sealer?
A sealer adds material to the water, and the treatment often involves lowering sanitiser and changing pH. Once it finishes, the water needs testing and adjusting before anyone uses the tub again. Some manufacturers recommend a full drain and refill after treatment, so check your label first.
If you keep the water, test it with fresh strips or a liquid test kit and adjust in this order. Bring total alkalinity into range first, because it steadies pH and makes the next adjustments easier.
- Total alkalinity: adjust to 80-120 ppm.
- pH: adjust to 7.2-7.6.
- Calcium hardness: aim for 150-250 ppm, though some manufacturers recommend a different range for their equipment.
- Sanitiser: bring free chlorine to 3-5 ppm, or bromine to 3-5 ppm.
- Shock the water if the label suggests it, to oxidise any leftover organic material.
- Run the pump with the clean filter in place, then retest before use.
For more detail on why these ranges matter in warm water, the Pool Water Treatment Advisory Group publishes guidance on water treatment at pwtag.org. Keep the water no hotter than 40°C (104°F) once you start using the tub again.
Watch for cloudiness or foam over the next few days. A little haze can clear with filtration, but if the water stays cloudy or the filter keeps clogging, drain, clean and refill. That is often quicker than trying to correct the problem with more chemicals.
When should you stop and call a technician?
A sealer is a reasonable first try for a small leak. It is not worth repeating if the evidence says the fault is something else. Call a qualified hot tub technician if any of these apply.
- Water is dripping from the pump, the heater or the control box.
- The water level drops quickly, for example several centimetres in a day with the cover on.
- You can hear running water inside the cabinet.
- Two sealer treatments have made no difference.
- You can see a crack in the shell or a split in a pipe.
- The tub trips the electrical supply, or the residual current device switches off.
- Water has soaked the insulation foam over a wide area.
Sealers are meant for minor losses of roughly 2.5 cm (1 inch) a day or less. If the level drops by more than about 2.5 to 5 cm (1 to 2 inches) a day with the cover on and normal use ruled out, the leak is probably too big for any sealer, and a direct repair is the sensible next step.
Many fixes are within reach of a careful owner, such as tightening unions, replacing O-rings or swapping a damaged section of pipe. Our guide to hot tub repairs you can do yourself explains which jobs suit a home repair and which should be left to a professional.
Any work on wiring, the control box or the electrical supply is a job for a registered electrician. In the UK that means work to BS 7671 with RCD protection, and in England and Wales such work may fall under Part P of the Building Regulations. Other countries have their own rules, so check what applies where you live.
If you store spa chemicals at home, keep them in their original containers, away from children and out of direct sun. The Health and Safety Executive explains how to read hazard labels and safety data sheets on its hazardous substances pages.
Summary: is a leak sealer worth trying?
A liquid leak sealer is worth trying when you have a small, slow leak in rigid pipework that pushes water outwards while the pump runs. It is a quick, low-cost first step that can save you cutting into foam to reach a pinhole.
It will not repair unions, pump seals, heater connections, split pipes or cracks. Find the leak first, follow the product label exactly, remove the filter during treatment, and test and rebalance the water before anyone gets back in. If two treatments fail, stop dosing and arrange a proper repair.
Whichever route you take, do not leave a leak running. Even one drip per second can waste around 11,000 litres (about 3,000 US gallons) a year, and every litre you top up has to be heated again, which adds to your energy bill. Fixing a leak promptly saves both water and money.
Frequently asked questions
Can a leak sealer damage my pump or heater?
Used as directed, spa-specific sealers are designed to pass through pumps and heaters without harm. Problems usually come from overdosing, mixing brands or leaving the filter in place so it clogs. Never use a product meant for car radiators or household plumbing. If your tub is under warranty, check the manufacturer's terms first, as some warranties restrict which chemicals you can add.
Is a repair made with a leak sealer permanent?
It can last a long time on a true pinhole in pipework that does not move. It is less reliable where the pipe flexes, heats up and cools down, or vibrates near the pump. Think of it as a sound repair for a small fault, and keep an eye on the water level over the following weeks so you notice early if the leak returns.
Can I use a swimming pool leak sealer in a hot tub?
Only if the label says it is suitable for spas or hot tubs as well as pools. Pool products are dosed for far larger volumes, and some are not designed for water at hot tub temperatures or for small spa filters. Using a pool-only product risks clogging the filter or leaving residue in narrow pipework, so choose one made for spa use.
How much leak sealer do I need for my hot tub?
Work from your tub's water volume, which you will find in the owner's manual or on the manufacturer's website. Then follow the dose on the product label for that volume. Do not guess or under-dose to save product, because a weak dose may not build a lasting plug. If your tub falls between two dose sizes, follow the label's guidance for rounding.
Why do people put tennis balls in a hot tub?
Tennis balls are an old trick for soaking up body oils, lotions and cosmetics floating on the water surface. They have nothing to do with sealing leaks. Some owners put one in the filter compartment, but the fibres can shed and the ball can absorb dirt. Dedicated oil-absorbing sponges designed for spas do the same job more cleanly.
How long should I wait before using the hot tub after treatment?
Wait until the full treatment time on the label has passed, the filter is clean and back in place, and the water has been tested and rebalanced. Sanitiser must be back within range, which is 3-5 ppm for both chlorine and bromine, and pH between 7.2 and 7.6. If the label recommends draining and refilling, do that before anyone uses the tub.
Filed under